How to Check Bearing Clearances
Verifying and adjusting bearing clearance is one of the most critical aspects of building an engine. In this segment, we dive into the mechanics of how to measure your crank, connecting rods, and bearings.
The simple fact is that setting bearing clearance for a performance engine is something that cannot be short cut. There are no quick and easy ways to establish this critical clearance regardless whether the engine is a bone-stock cruiser or a road course animal that will endure hundreds of miles of abuse.
We will run through the basics on how to measure bearing clearance and illustrate how to avoid mistakes. This will also require some critical measuring tools. Let’s just put this right out front – measuring bearing clearance for a performance engine cannot be accomplished with Plastigage. Those little pieces of wax thread are not precision measurement devices and should not be used to define bearing clearance. That may hurt some people’s feelings – but setting bearing clearances is a process that’s too important to allow anything short of your best effort.
Measuring bearing clearance is one of those steps that all good engine builders take to establish a solid and reliable rotating assembly foundation. It can be tedious trying different bearings to put the numbers where you want them, but also rewarding when you get it right.
To begin, a few tools and precision measurement devices will be necessary. This begins with an accurate outside micrometer in the range of the journals you will be measuring. There are cheap micrometers out there that you should avoid. Insist on a micrometer that will measure to 0.0001-inch accurately. This is an absolute necessity.
Measuring the inside diameter of a main or rod bearing will require a dial bore gauge. The best ones to use are accurate down to 0.0001-inch. With these two tools you can quickly determine the clearances in any engine.
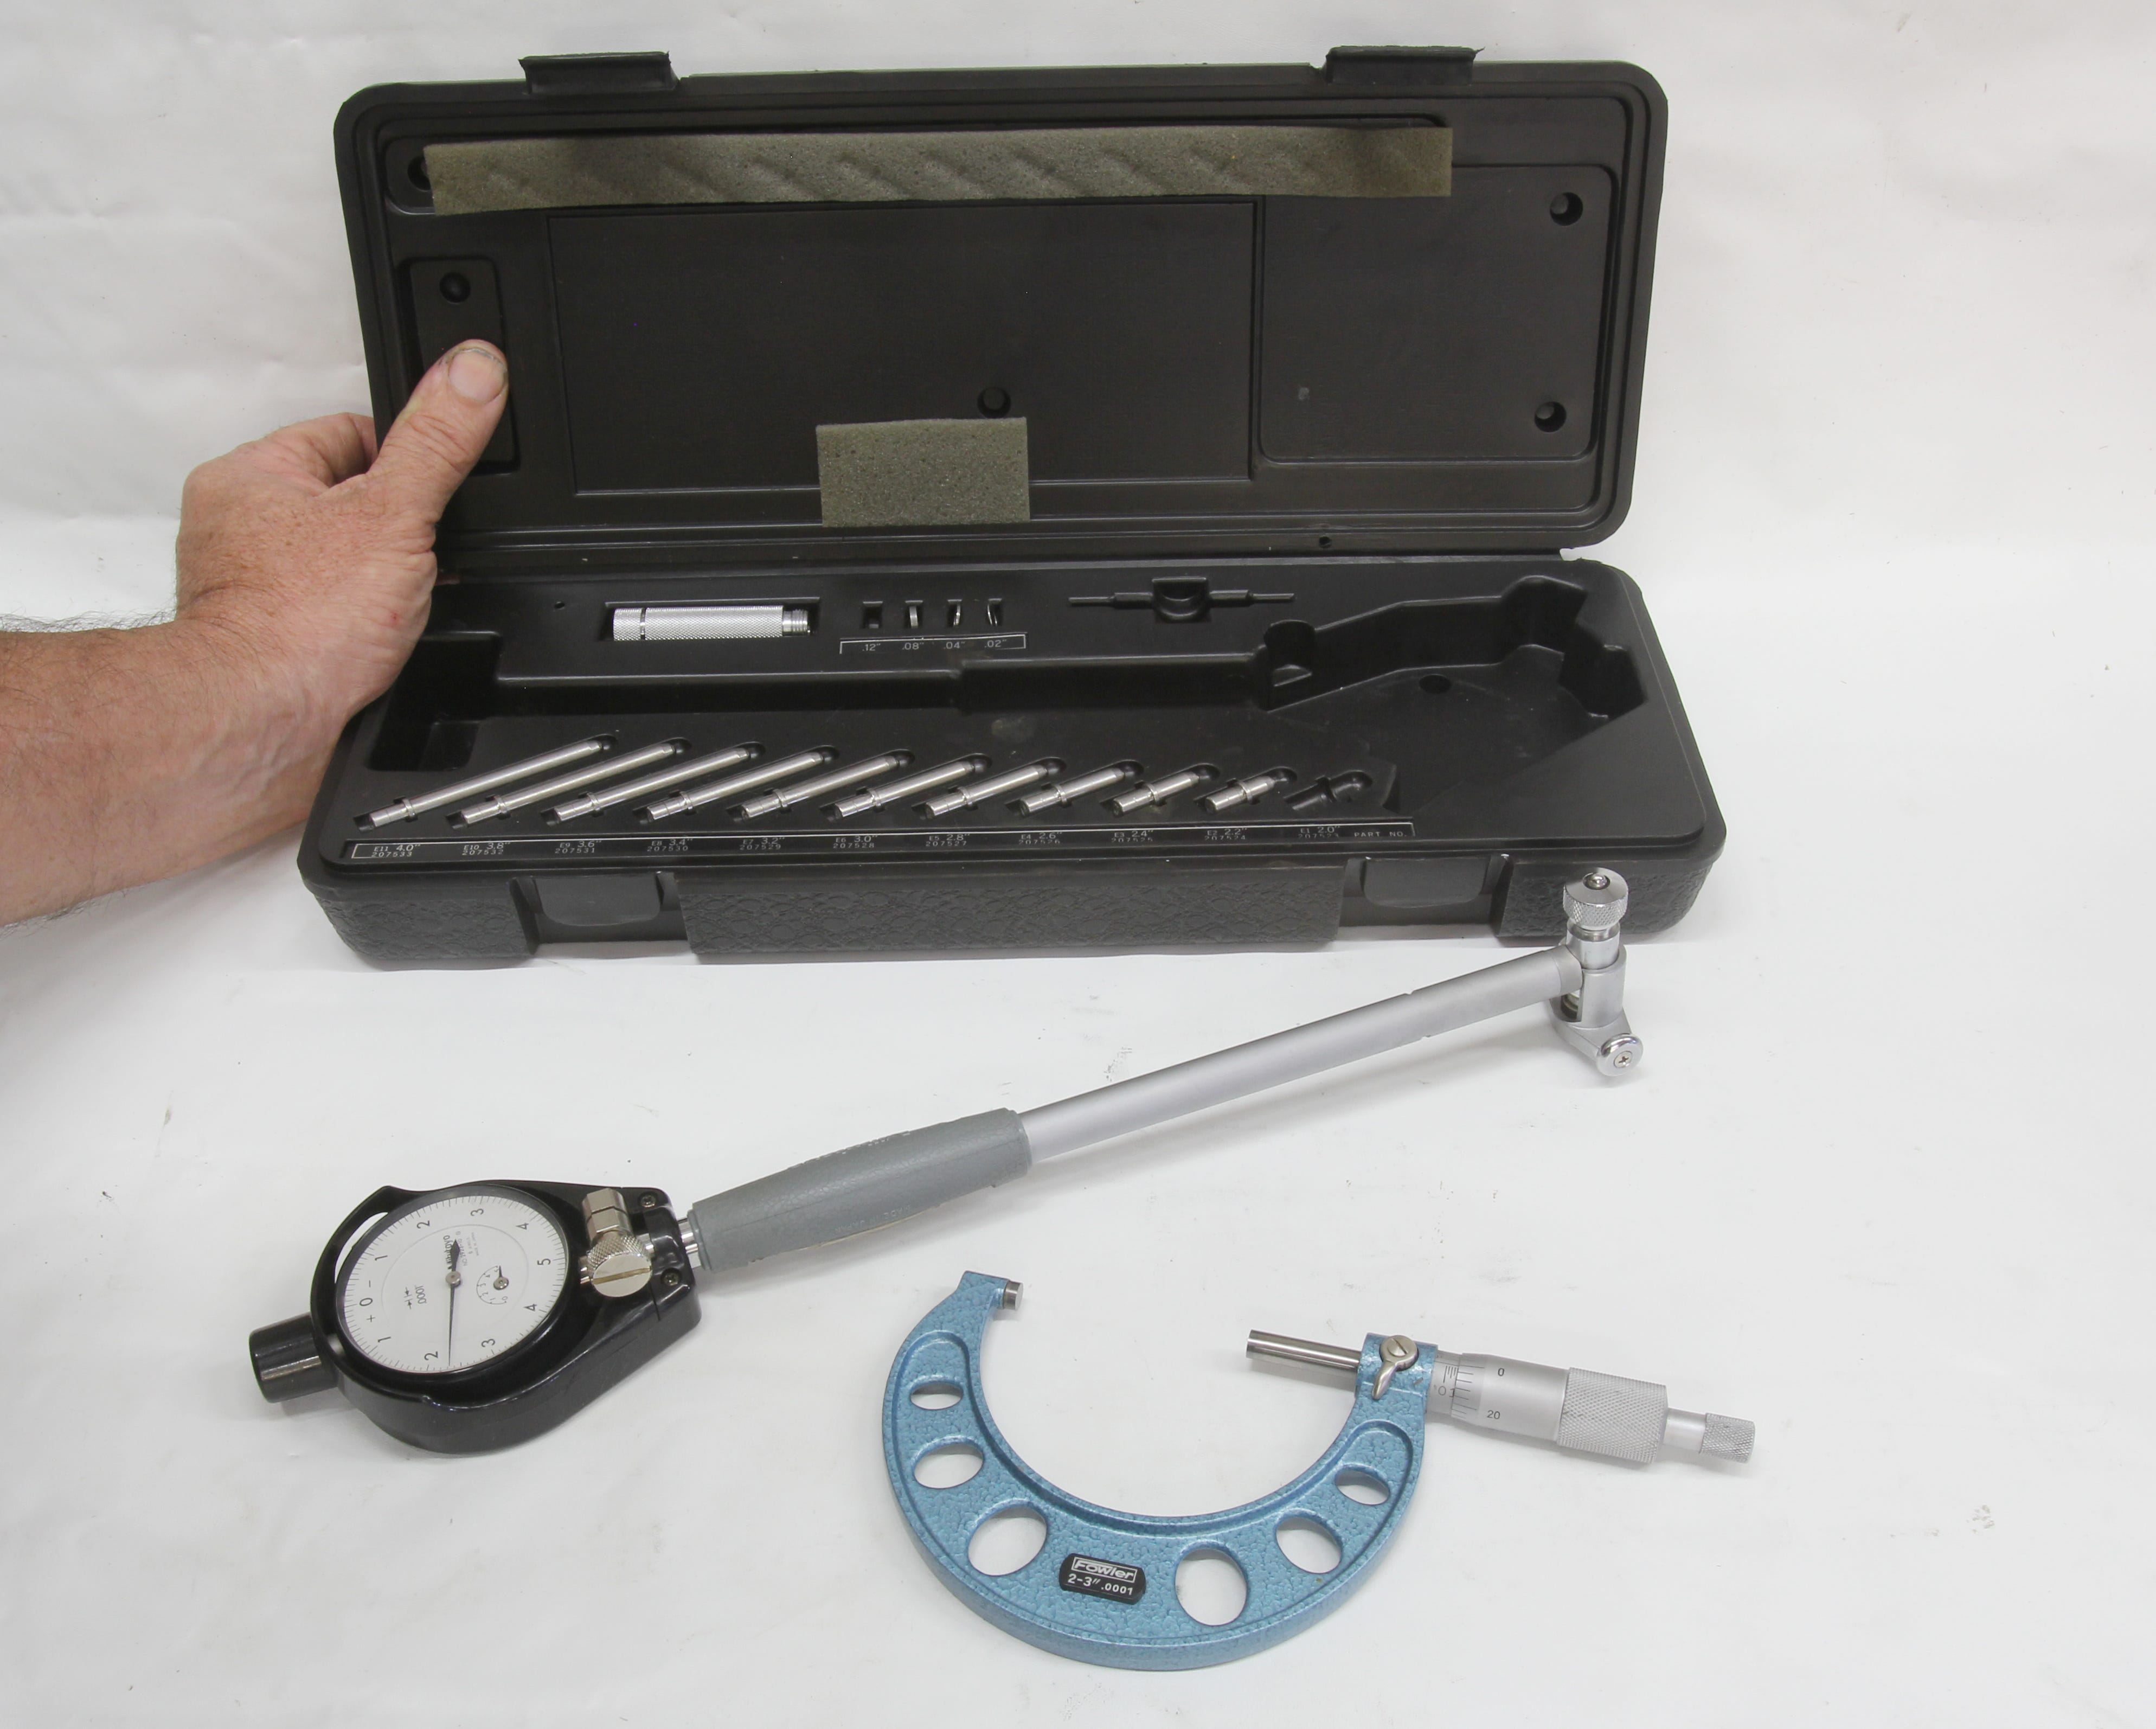
Measuring bearing clearance is only valuable if the numbers are accurate so use quality tools. The micrometer should be able to read to the fourth decimal place and a dood dial bore gauge is essential.
The process is not difficult but does require some skill with handling and reading a micrometer. It’s also important to always zero the micrometer before using it. Standards are generally supplied with a micrometer along with a tool to allow adjusting the mic for accuracy. All standards are also calibrated to be used at 68 degrees F.
Before we get into the actual process, it might be good to talk about generic clearances. The commonly accepted rule that most crankshaft manufacturers prefer for street and performance engines is 0.0010-inch for every 1-inch of journal diameter. So for a 2.45-inch small-block main journal, the bearing clearance would be 0.0024-inch. For a smaller 2.100-inch rod journal, the accepted clearance would be 0.0021-inch. Factory acceptable tolerances on a stock small-block Chevy are much wider than this.
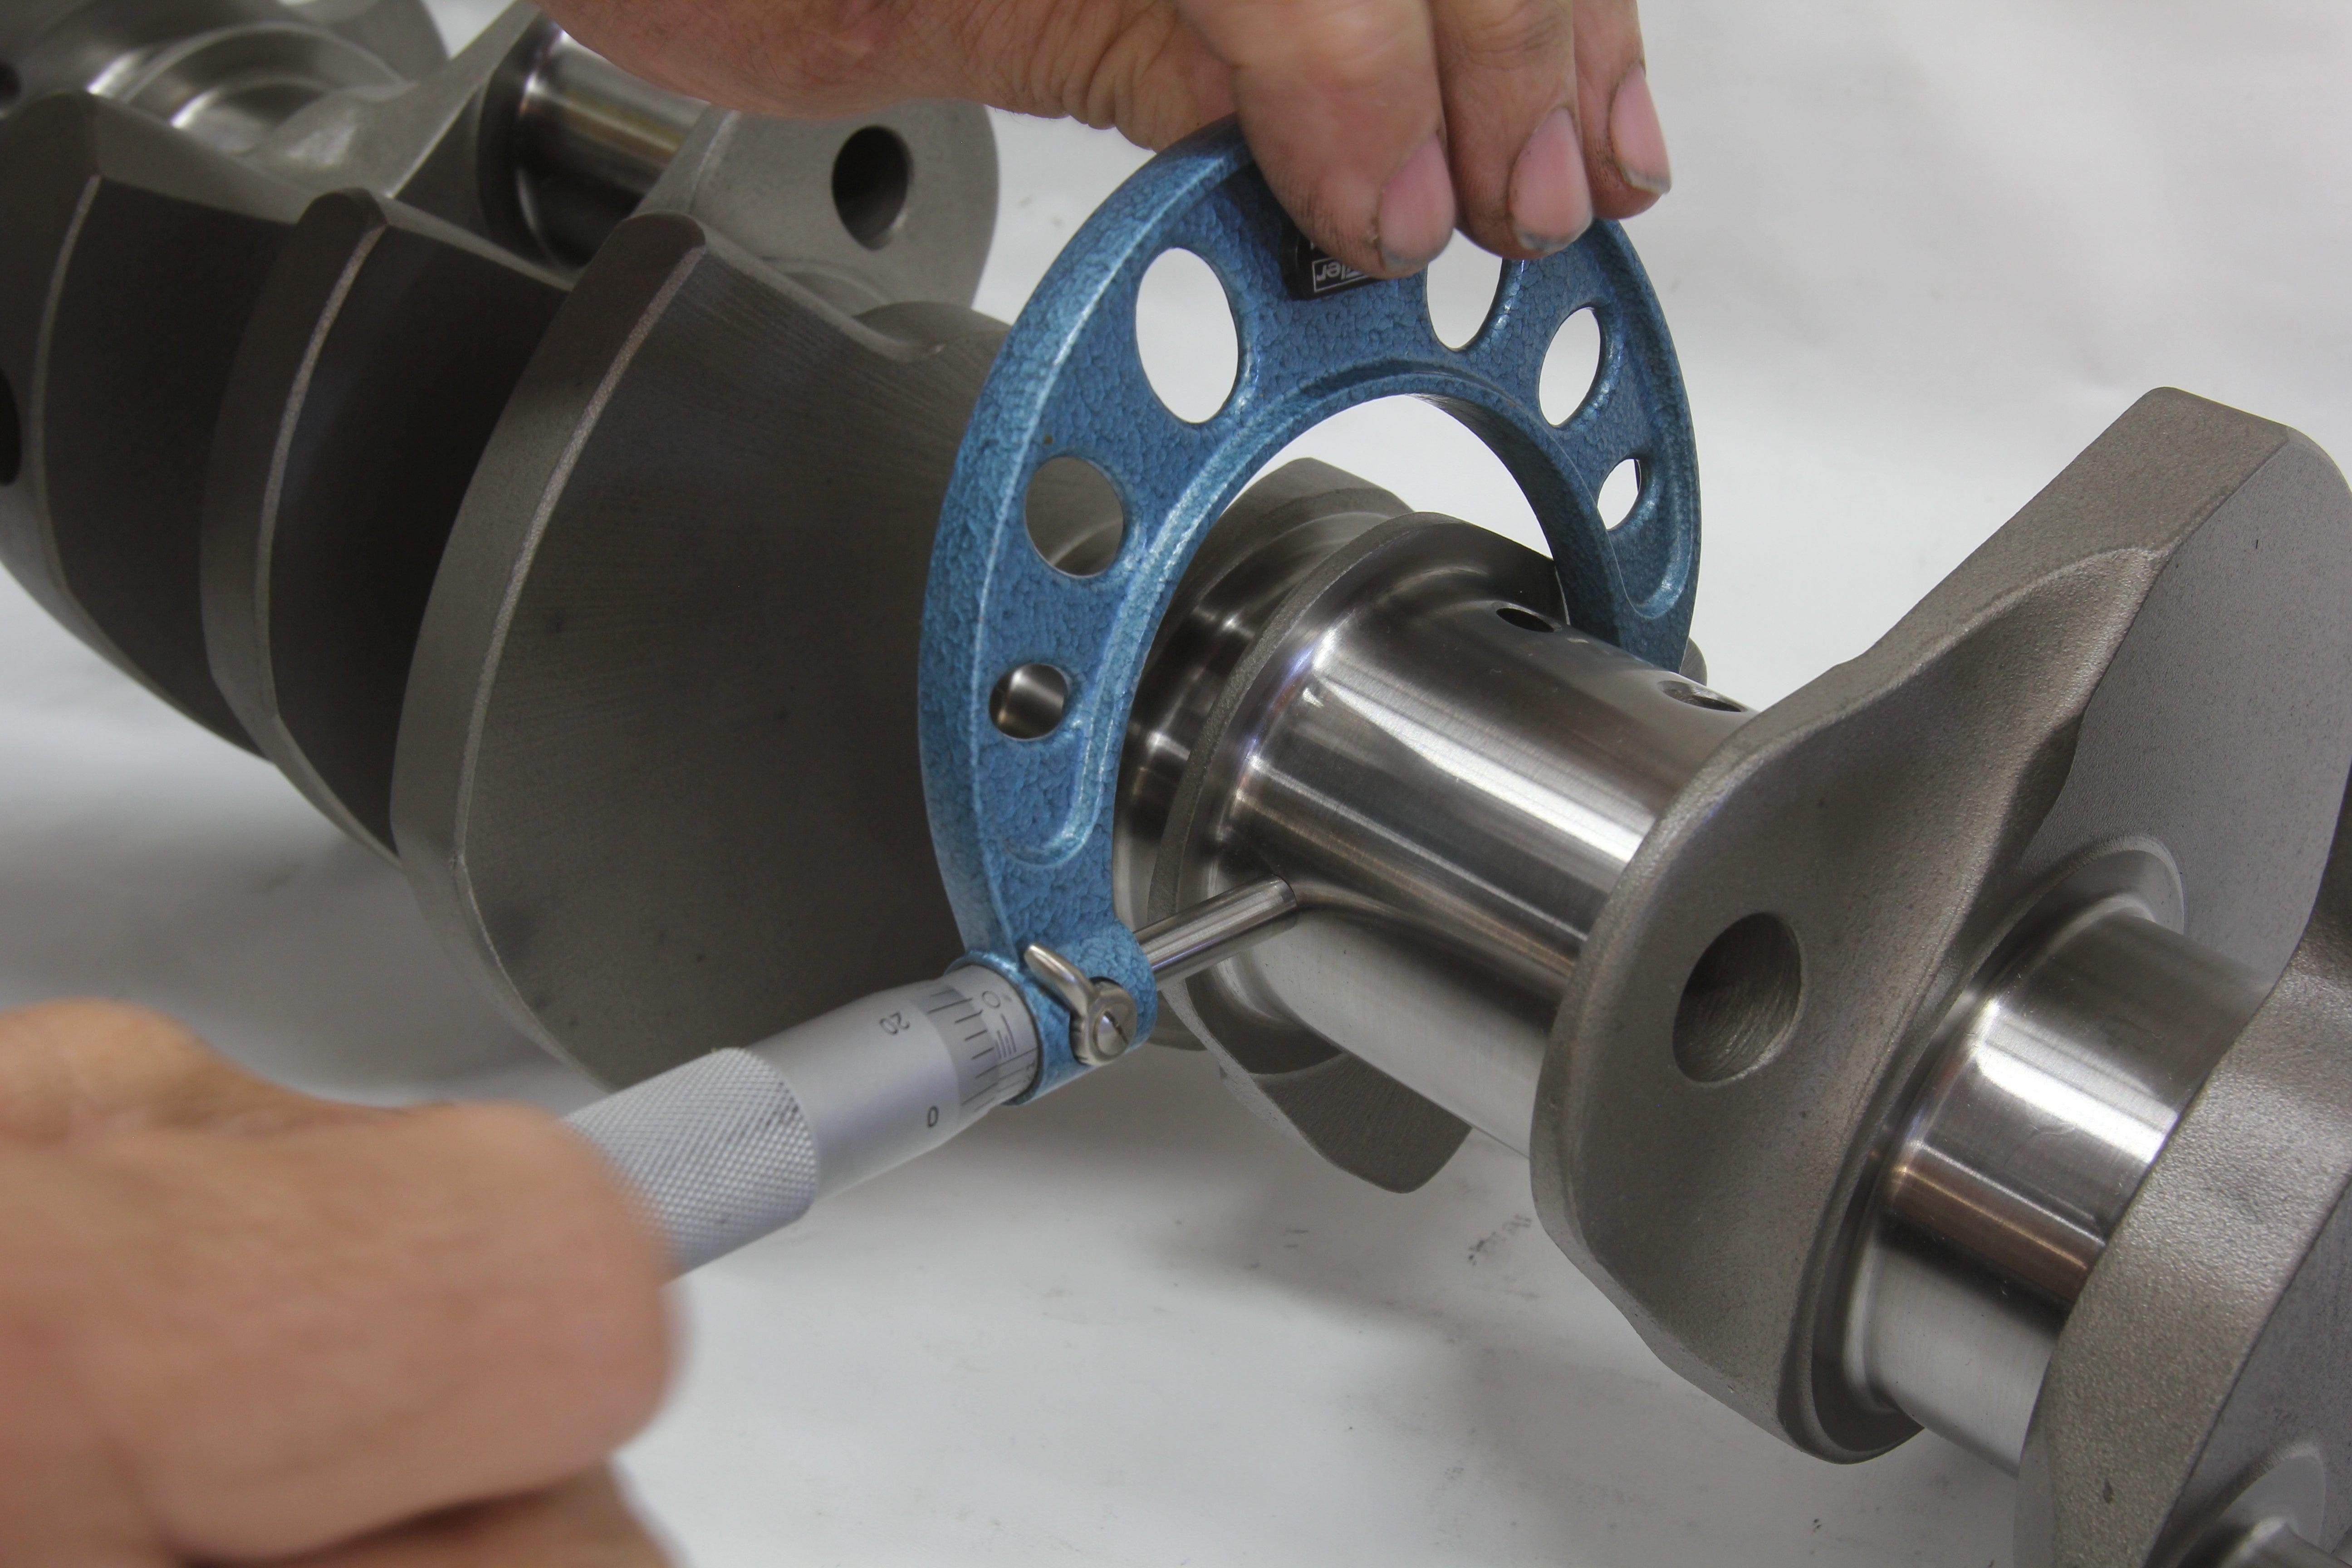
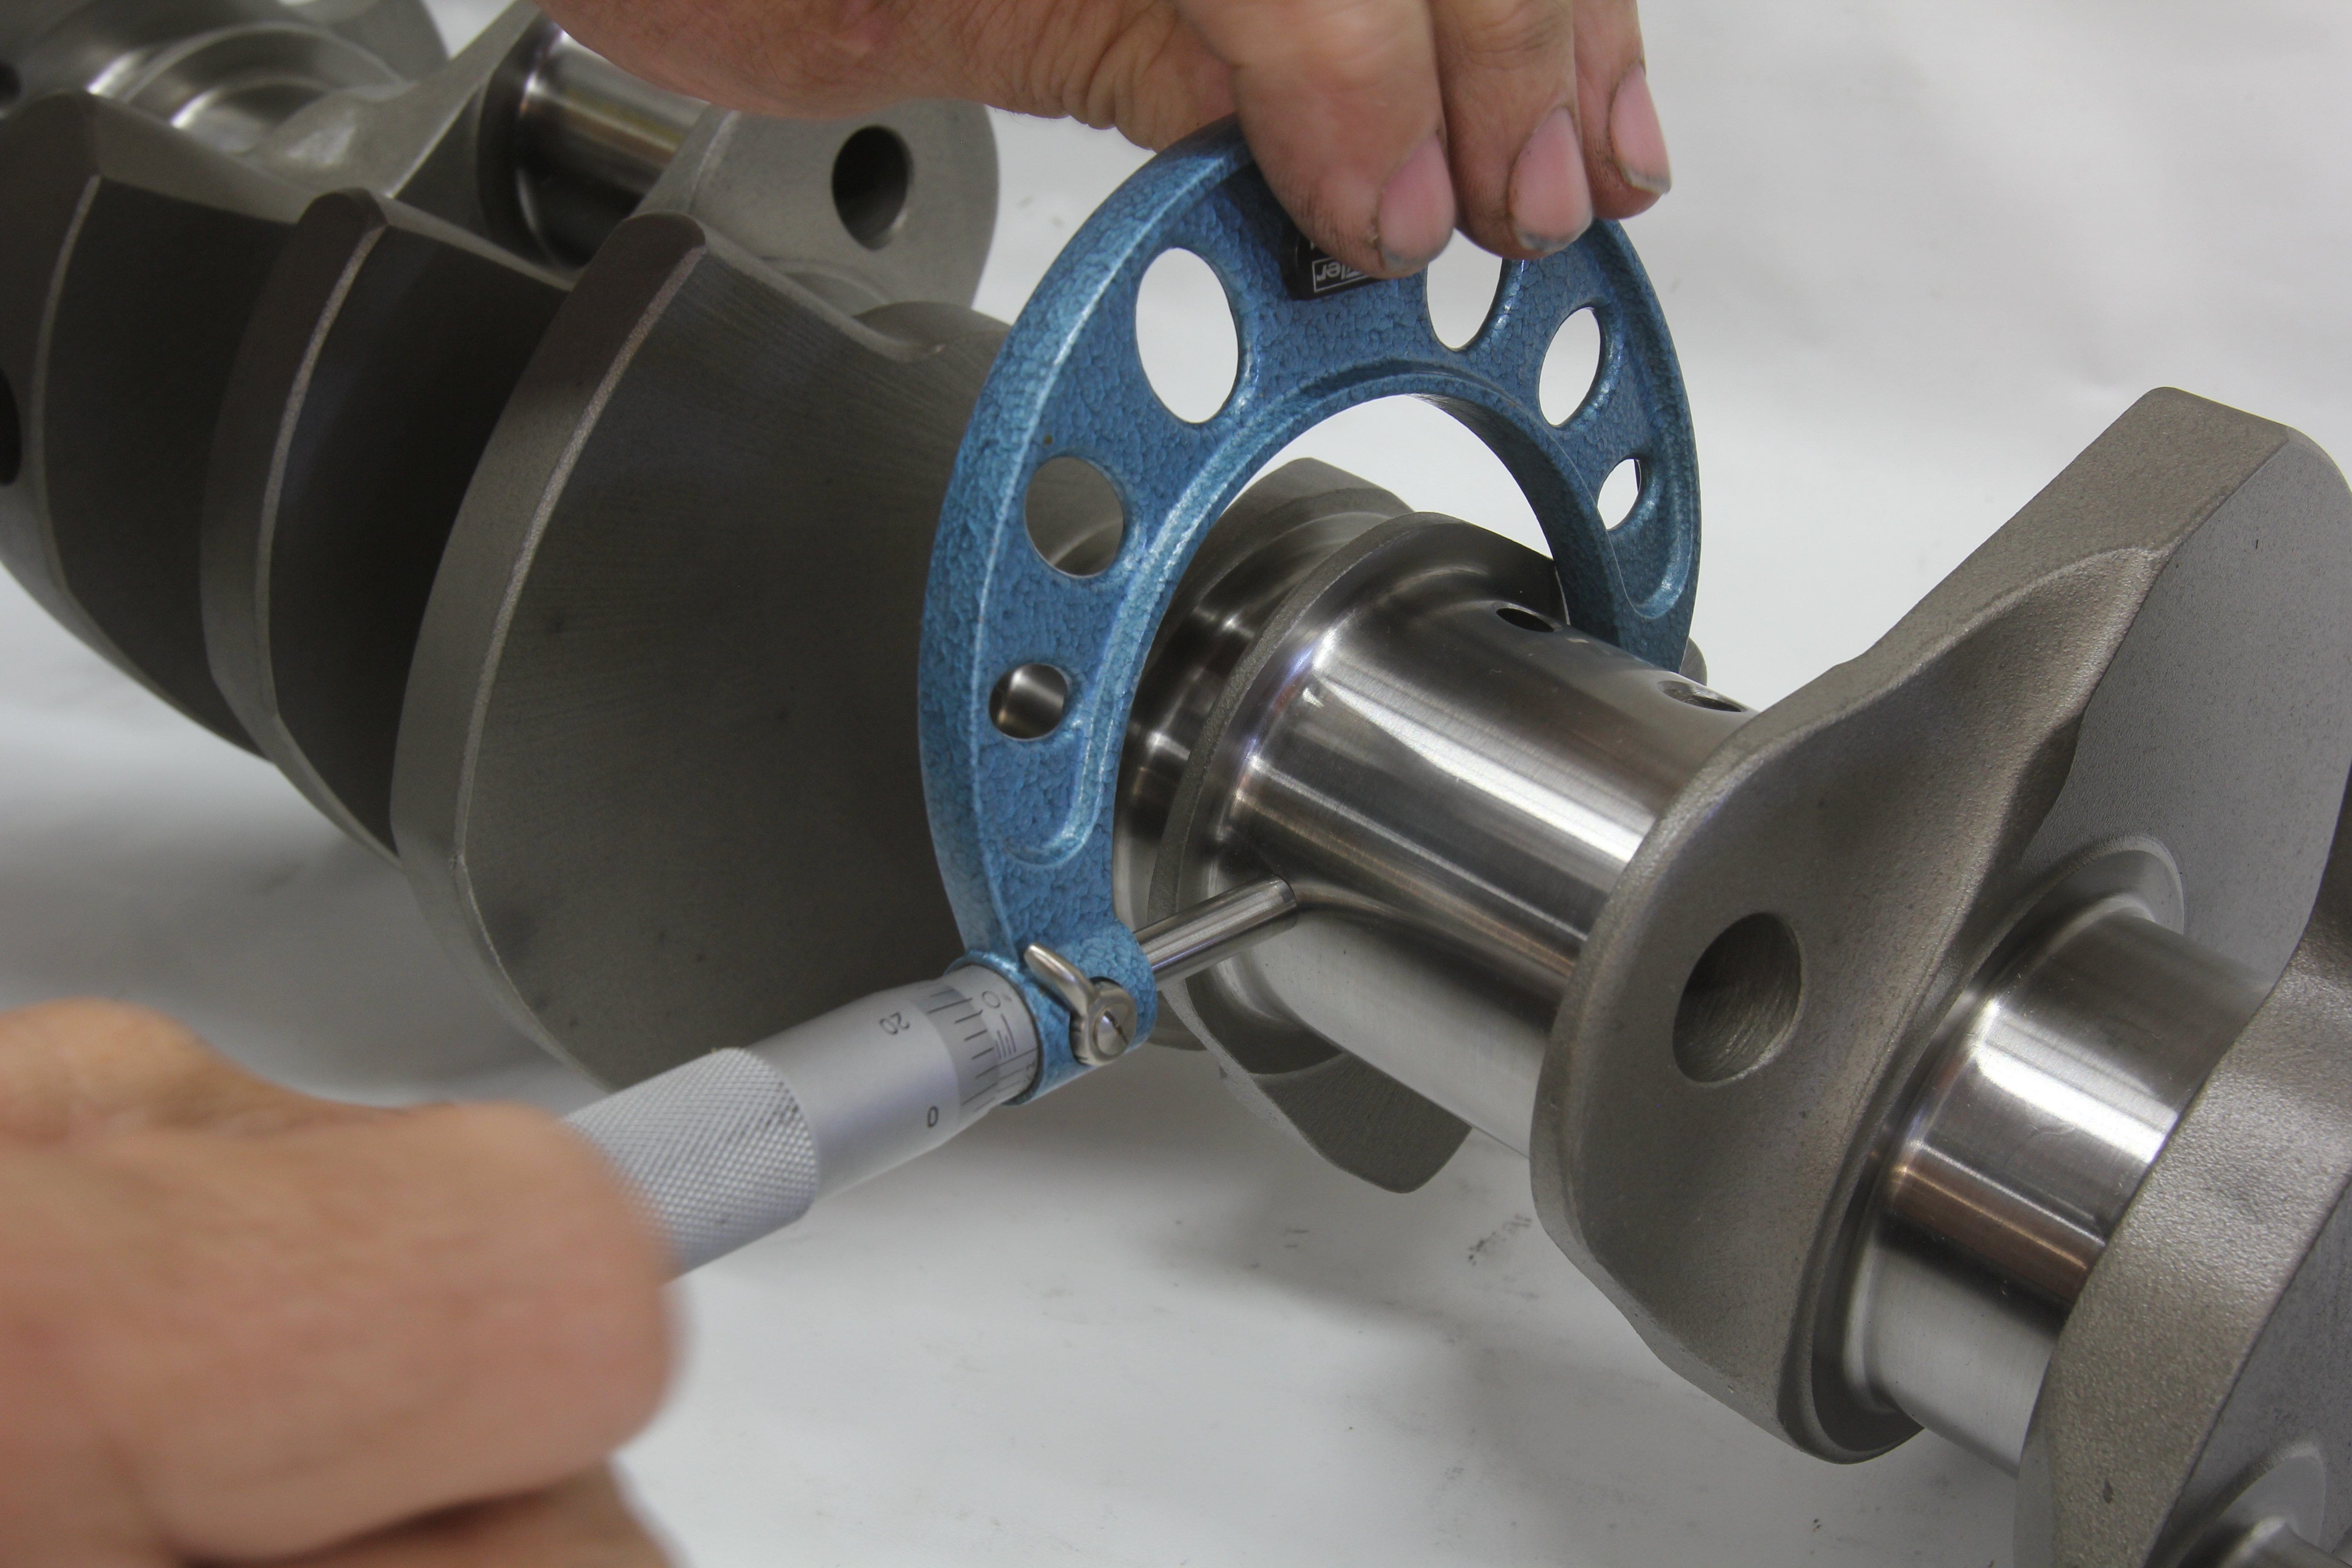
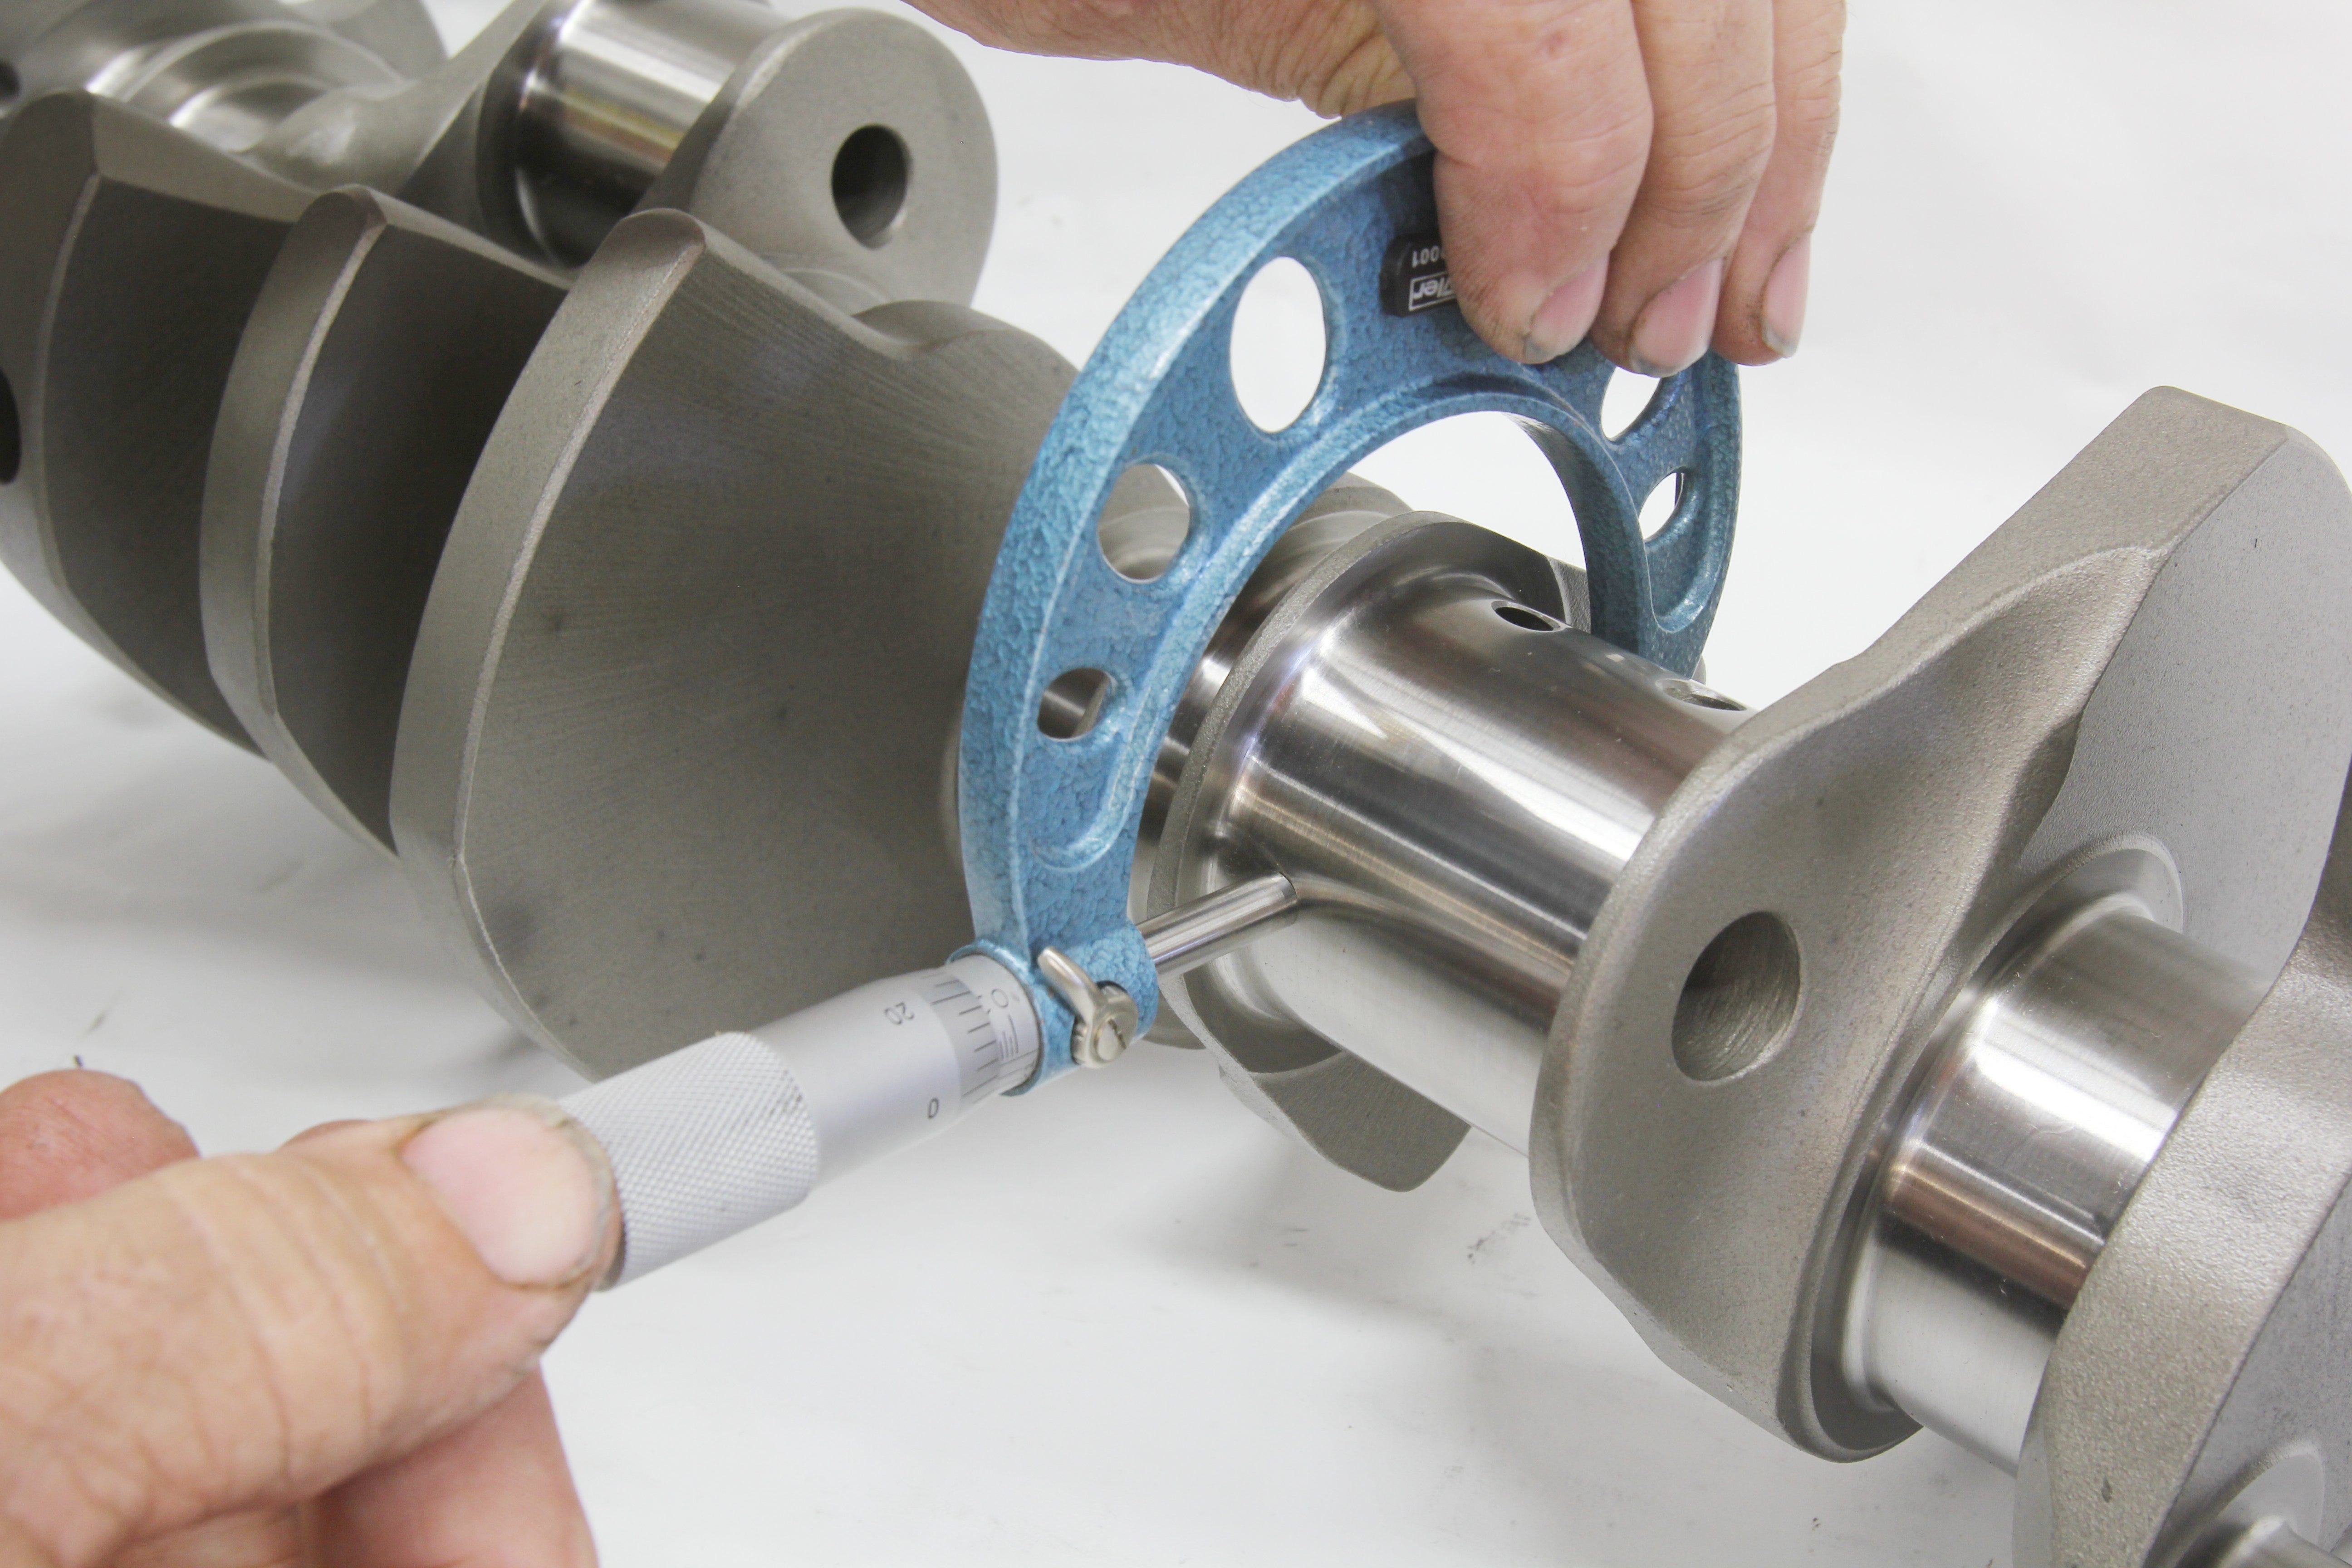
Start by measuring the crankshaft for rod and main journal diameters. This means using a quality micrometer that is capable of measurement down to 0.0001-inch. This is the only way to ensure your numbers will be accurate.
Let’s start by measuring a main bearing journal. It’s best to measure a journal in at least two different planes to establish diameter and roundness. Ideally, there will be zero out-of-roundness but it’s possible to see a variation of 0.0001-inch, which may or may not be a function of measurement accuracy. Depending upon the application, new crankshaft specs call for runout and taper of no more than 0.0002-inch for both rods and mains.
Measure the crankshaft journal and record the diameter on a sheet for all the journals. For a new crankshaft, you should find the rods and mains will probably vary no more than +/- 0.0001-inch. We measured our K1 small-block crankshaft and the variation between all the rod journals was less than 0.0002-inch. Most of our rod journals, for example, measured 2.09951-inch.
With the journals measured, it’s time to set up a dial bore gauge to measure the inside diameter of the rod bearings. To begin, we set up our dial bore gauge at slightly more than 2.100-inches to establish a load on the gauge. We then set our micrometer at 2.1000-inches and placed it in a protected vise to hold it in place while we set the dial indicator up to read zero (0) at this 2.100-inch spec.
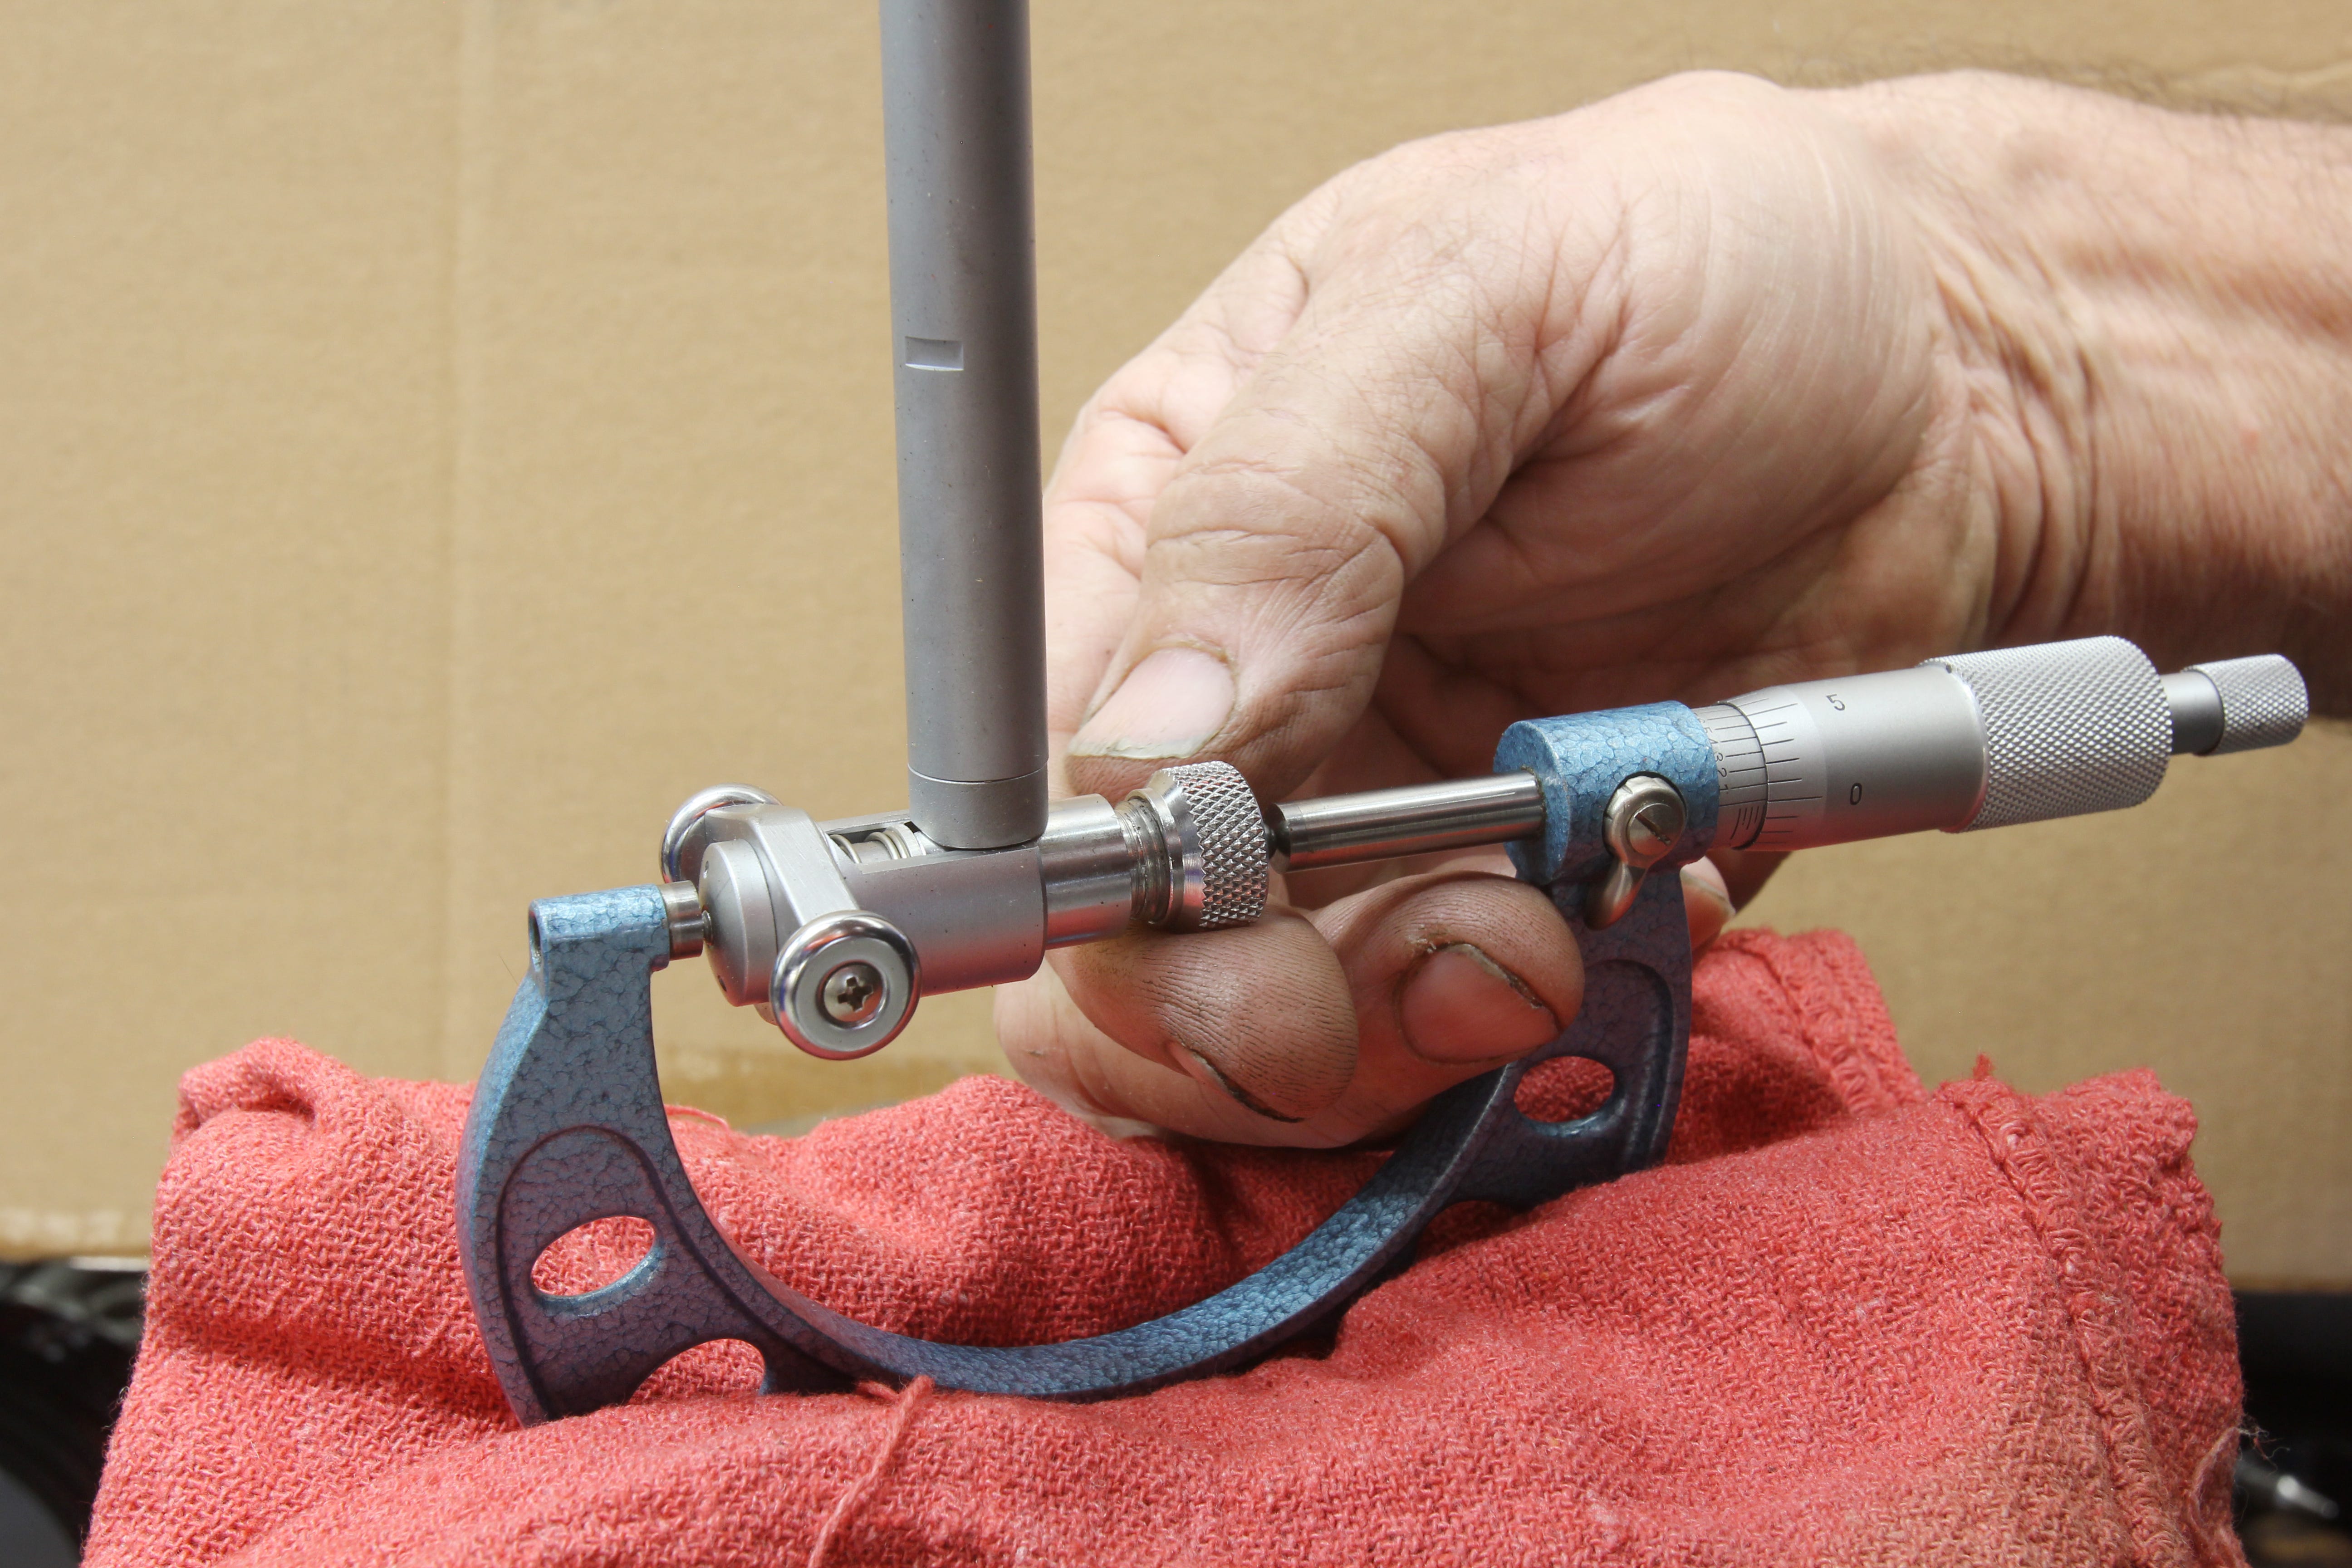
It’s best to use the same micrometer used to read the journals to set zero clearance on the dial bore gauge.
With that accomplished, we then placed a standard set of rod bearings in a connecting rod and tightened the bolts to the required rod bolt stretch figure ( 0.0055 to 0.0060-inch). With both bolts stretched, we then place the dial bore gauge to read the vertical oil clearance directly in line with the rod. It’s important to always measure oil clearance in the true vertical plane as all bearings are designed with an eccentricity to produce additional clearance at the bearing parting line. This is done to compensate for load because the sides of the bearing housing will pinch inward at the parting line under high load.
Our first measurement, using a standard bearing for this application indicated barely 0.0010-inch of clearance. We set our dial indicator at 2.100-inch so because the Number One rod journal measured 2.0994-inch, we added that 0.0006-inch to the bearing inside diameter indicated on the dial bore gauge. This produced a true bearing clearance of 0.0016-inch which is tighter than our minimum spec of 0.0021. This can be attributed to a tolerance stack-up issue, which is very common. This is why we measure bearing clearance.
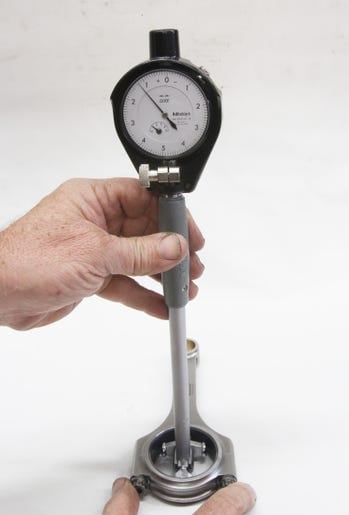
Always measure bearing clearance in the vertical orientation. All bearings are made with built-in eccentricity that creates more clearance at the parting line. It’s a good idea to measure this eccentricity about 15-20 degrees off the parting line so you know there is sufficient clearance but the published clearance will be in the vertical.
Luckily, all the performance bearing manufacturers like, Federal-Mogul (Speed-Pro), Mahle-Clevite, King, and others offer bearing shells in various over- and under-sizes to allow the engine builder to customize his clearances. In our case, Clevite offers a 1X bearing that adds 0.001-inch of clearance. There are several techniques you can employ to set clearances exactly where you want them.
For example, adding a full 1X bearing set would theoretically add 0.001-inch, widening the clearance to 0.0026-inch. On this engine, we decided to run the rod bearing clearances right on the 0.001-inch per inch journal spec, which can be accomplished by adding only one of the two bearing shell halves. This is an acceptable procedure as long as you never mix shell halves of more than 0.001-inch difference. So as an example, never combine a 1X (+0.001-inch oversize) half with a -1 (0.001-inch undersize) half because the shell thicknesses will be incompatible.
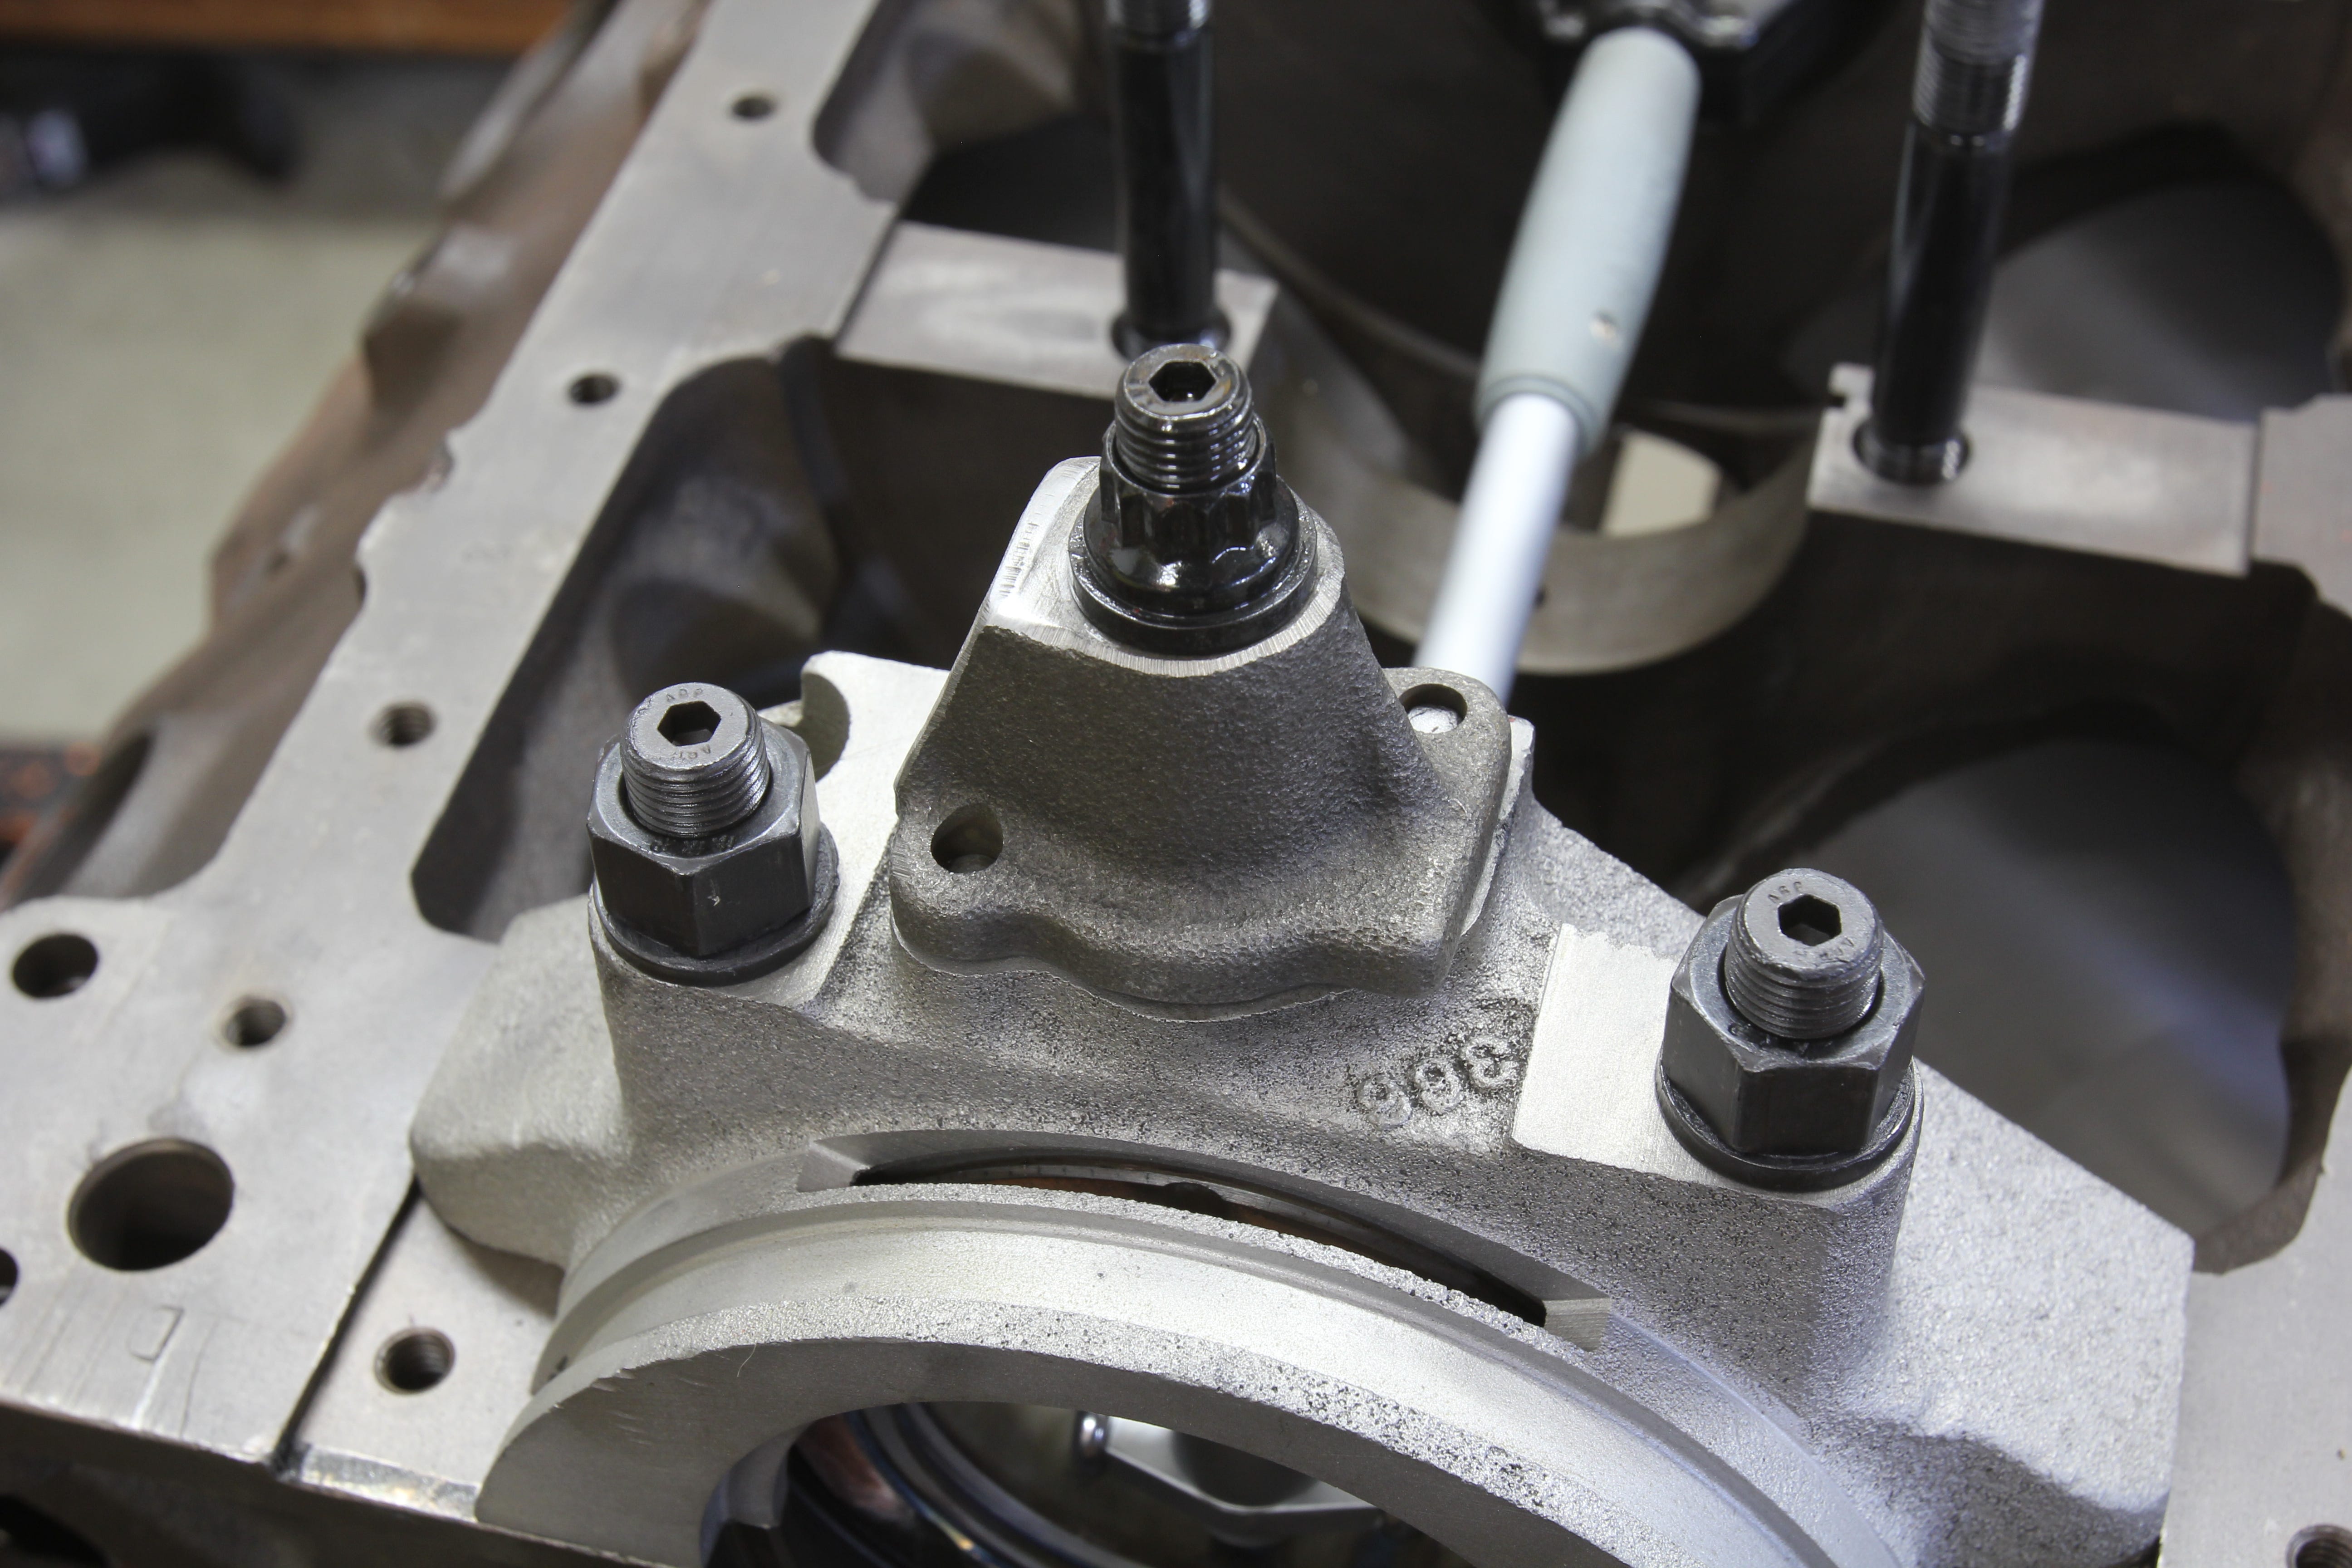
When measuring main bearing clearance on engines like small-and big-block Chevys where the oil pump is mounted on the rear main cap, always mount or simulate the stress of the pump torque in place. This load generally adds clearance, especially on stock, cast main caps. You don’t have to mount the entire pump, just the mount will work fine.
When mixing shell halves, the rule is to place the thicker shell half into the loaded side of the housing bore. So in case of a main bearing, the thicker shell half would be placed in the main cap while in a connecting rod, the thicker half would be placed in the upper position with the rod. This creates a situation where under load, the oil clearance decreases on the loaded side so the thinner shell half allows more room for the oil to enter the bearing area and maintain lubrication.
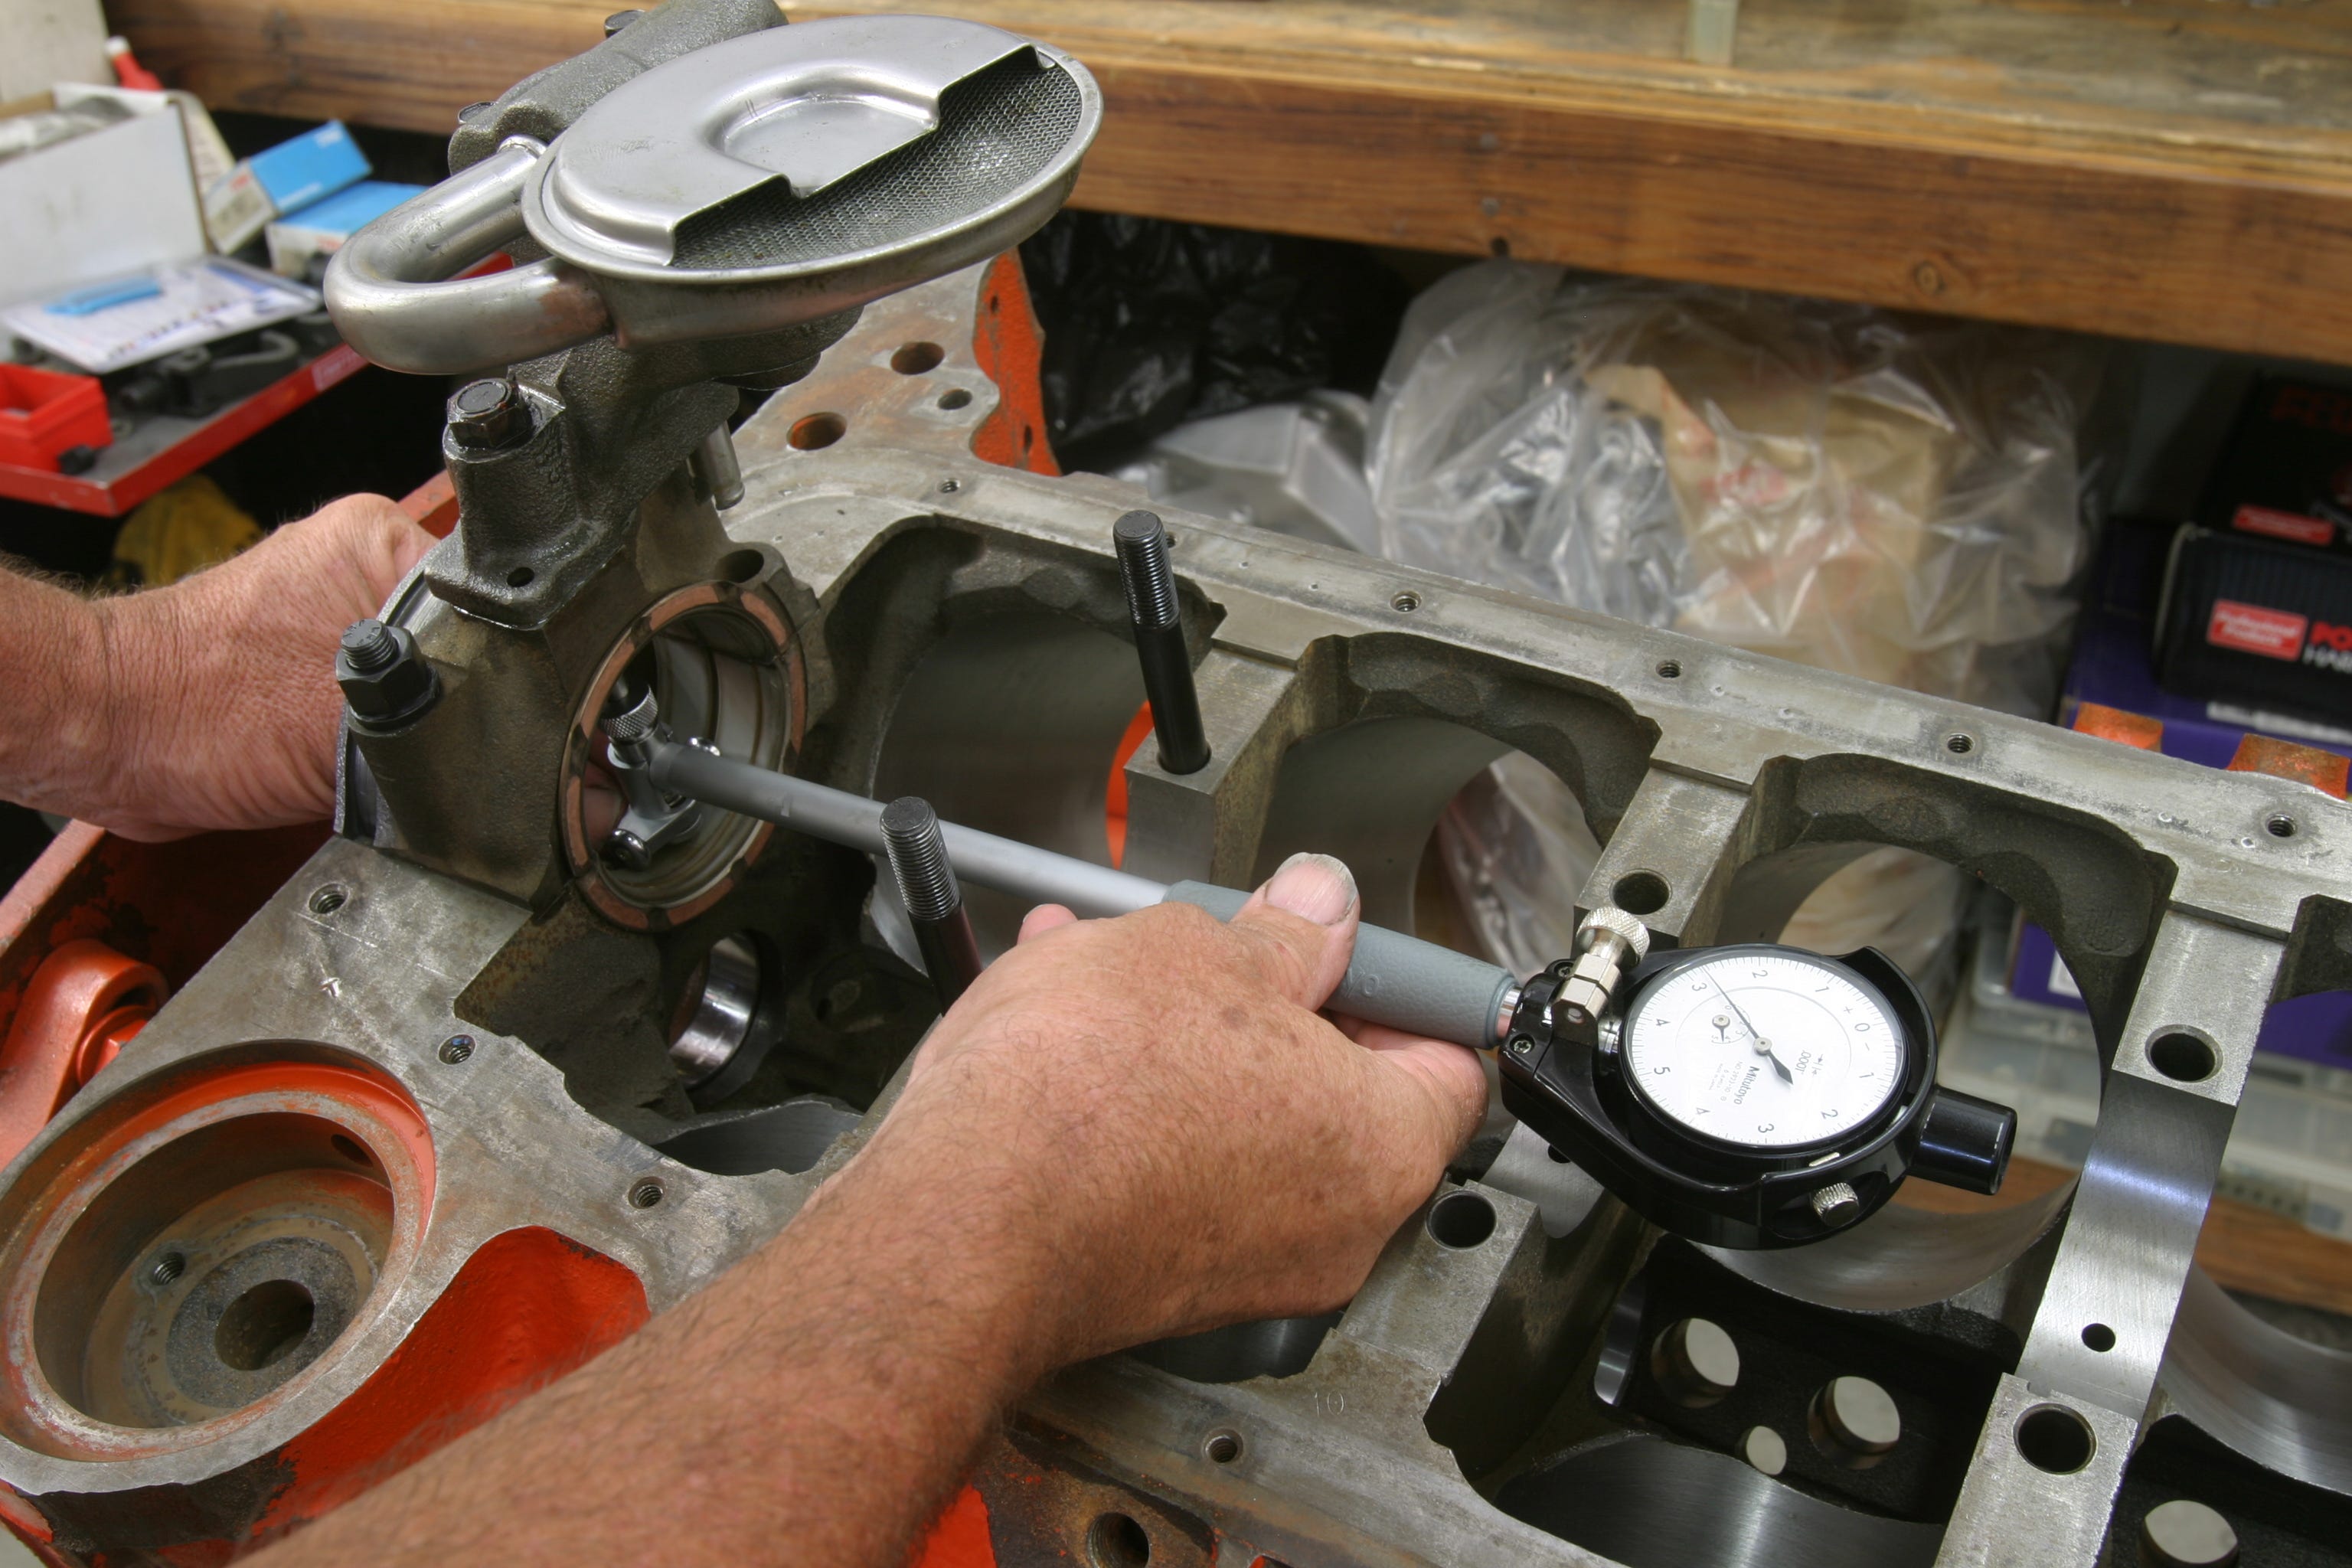
Always check the clearance at both ends of wide main caps like this thrust bearing. We measured a big-block Chevy once that had a tapered cap that changed the clearance front-to-back by almost 0.001-inch!
After measuring all eight rod bearing clearances and using shell halves to set the clearances, it’s very common to have a clearance spread between the rods of perhaps 0.0004- to 0.0005-inch. Let’s say our loosest rod bearing measured 0.0028-inch while the tightest rod came in at 0.0023-inch – creating a spread of 0.0005-inch. We’ve found that switching the tightest and loosest bearings can sometimes bring the spread closer together. For our engine, we measured a spread of just 0.0003-inch.
Setting bearing clearance isn’t particularly difficult as long as you work carefully and double-check to make sure all your numbers are correct. But once you’ve done that, you have just ensured that the engine has a great chance of making power for a very long time.
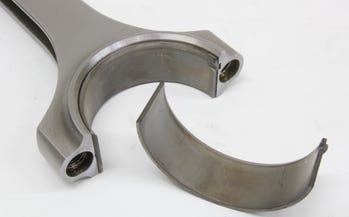
Performance steel cranks like K1’s use larger fillet radii on the rod journals that require narrowed bearings. These bearings usually include a chamfer that requires the bearing be installed correctly in the rod with the bearing chamfer positioned to match the chamfer on the rod. The bearings are usually marked “upper” and “lower” for this reason.
