How to Clearance Your Block for a Stroker Crankshaft
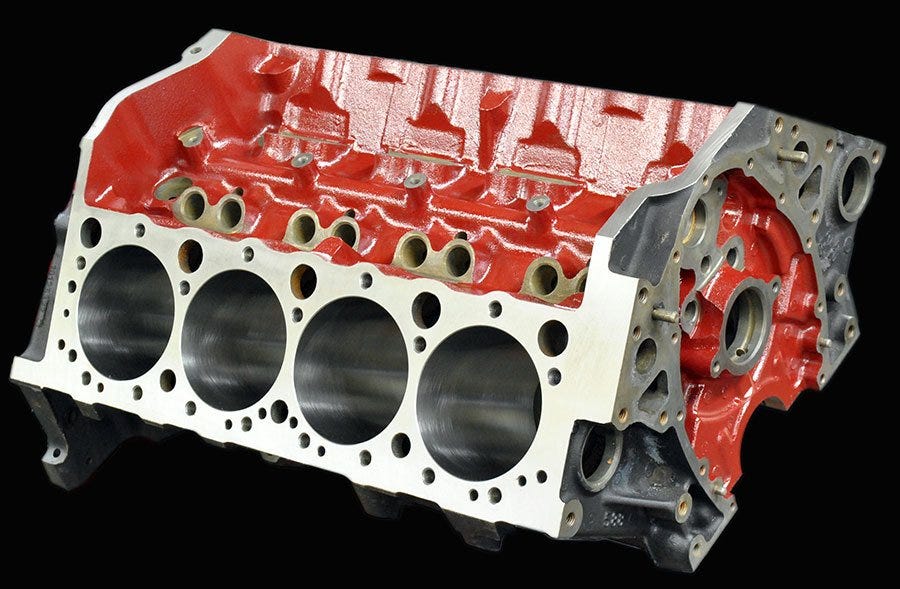
Is a stroker crank part of your next build? That factory block may need some massaging to make it fit. Here’s how to make more real estate in your crankcase.
Stoker engine have been popular for many years, but there are some pitfalls that can bite you if you are attempting to stroke a stock-block engine. The longer throws on a stroker crank naturally swing the big end of the rod out farther toward the pan rails on any block. This can be problematic on stock factory blocks because they often do not have enough room to accommodate the extra stroke length without interference at the pan rail or other areas in the lower block or crankcase assembly such as the bottom of a cylinder. The most common area of interference is between the rod bolt nut or cap screw and the lower portion of the cylinder adjacent to the oil pan rail or the pan rail itself. To check this, you must do a mock assembly and determine where to grind the block for clearance.
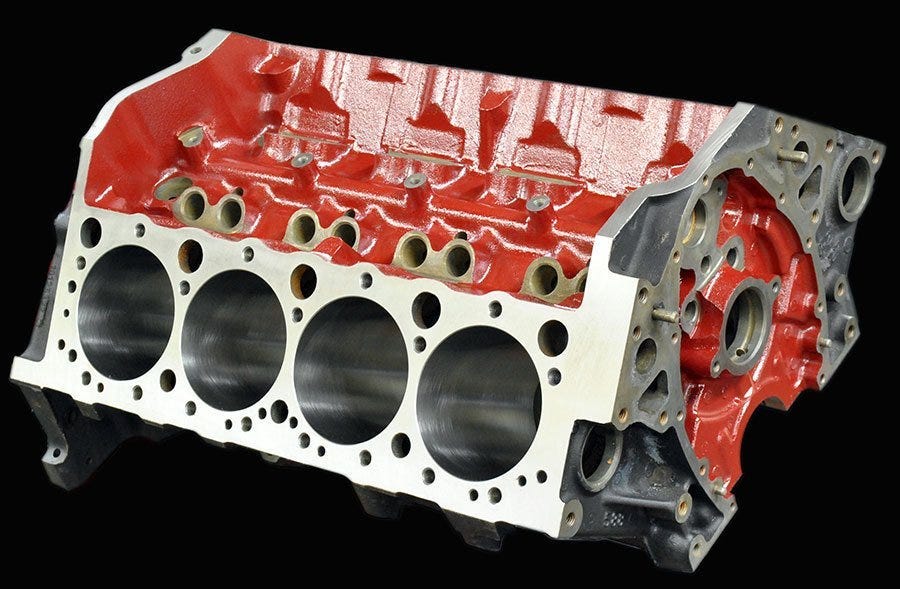
Stock Blocks with stroker cranks often need clearancing at the bottom of the cylinders or at the pan rails to ensure that the crank and rods do not hit anything.
To accomplish this, mock up the short block with all eight rods and pistons installed on the crankshaft. This will allow you to slowly rotate the assembly to see what hits and where to determine what you can do about it. On a stock block you will likely not be able to rotate the crank completely through all 360 degrees of rotation without hitting something. A good example is a 383 Chevy. Some stock blocks can handle it, others can’t. It often depends on the rod and the type of fasteners. Rods with cap screw will sometime clear, but rods with large rod bolt nuts are sure to find interference. In some cases, certain rod bolts will also find interference with the cam lobes on at least a few cylinders. That becomes a bigger problem, but is also a reason to install the cam and timing set to verify clearance before final assembly.
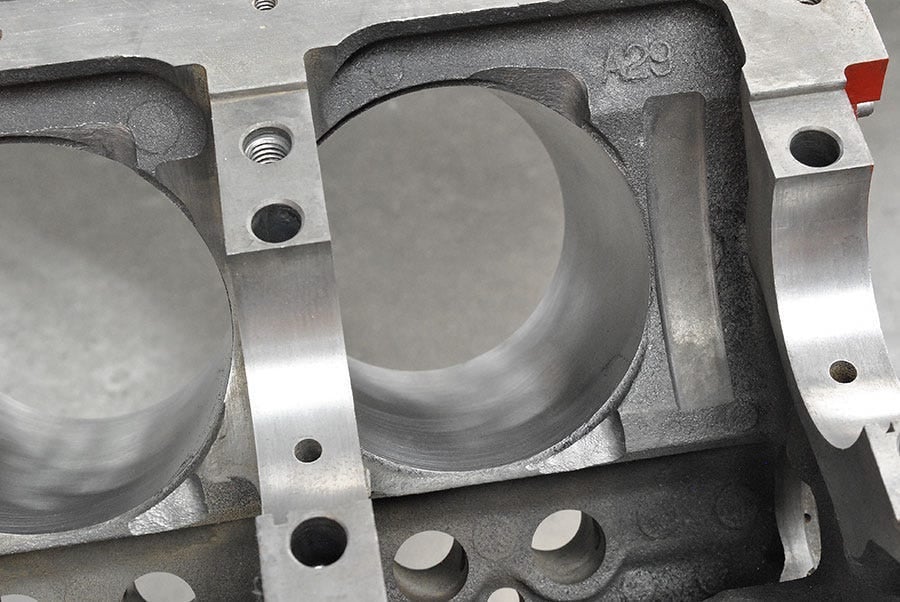
This factory 350 block had no issues at the pan rail, but it did require grinding a notch at the bottom of the cylinder to clear the rod.
You may run into the interference problem before you even finish mocking the short block. To avoid this, many builders will just do one cylinder at a time using the appropriate rod and piston for that cylinder. The rod bolt or cap screw should be thoroughly snugged down, but it does not have to be torqued for this procedure. Using this method, install a rod and piston and slowly rotate the engine through it travel. Note any interference and use a felt tipped marker to outline where grinding will be necessary. Also take note of approximately how much grinding will be requird since it possible to strike a water jacket in some cases.
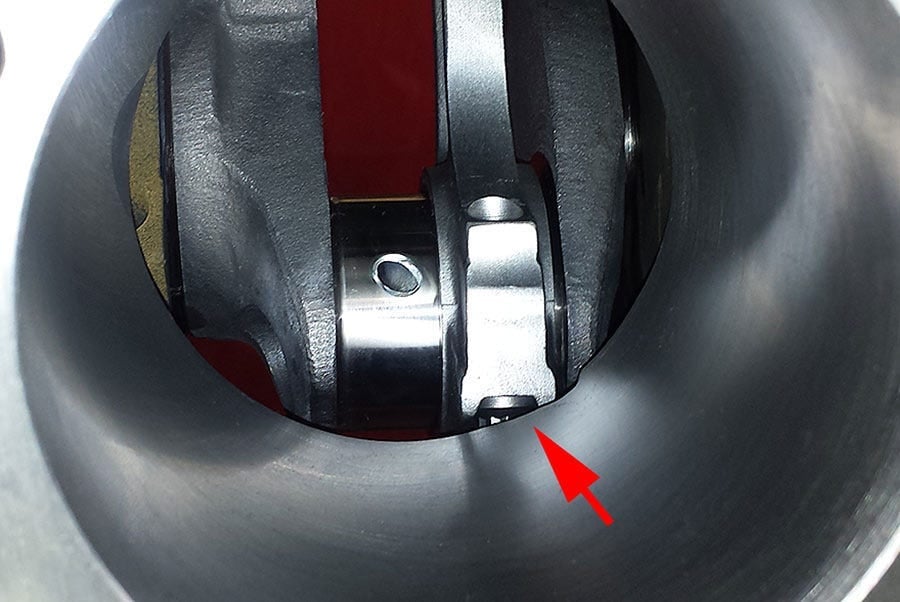
The arrow points to where the rod bot tries to hit the cylinder. A clearance notch is required.
Since you will be reassembling to check your work, it is a good idea to use an older set of bearings to avoid getting any grinding dust on your new bearings. Everything will have to be thoroughly cleaned prior to final assembly. It often takes multiple reassembles to finally gain the necessary clearance. Work slowly and use a flashlight and extendable mirror if necessary. The minimum acceptable clearance is 0.060 – 0.080-inch between all moving parts and the block. You can check this with a feeler gauge or welding rod of the appropriate thickness. The reason for using a mirror is to make certain the clearance doesn’t close where you can’t easily see it or measure it.
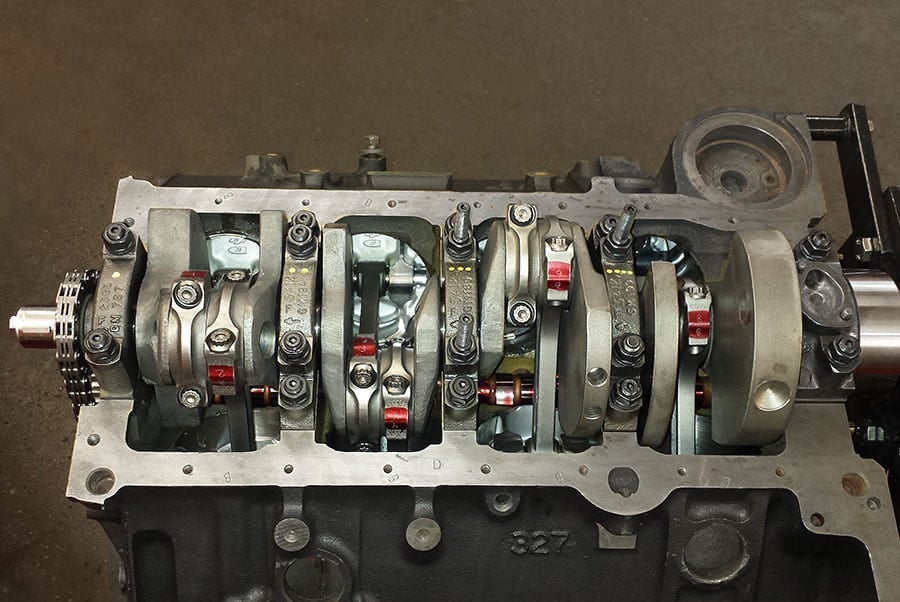
With this 383 SBC stroker application you can see how even the smaller cap screws still required a clearance notch at the bottom of each cylinder.
To avoid striking water, always grind only the minimum amount necessary to obtain the required clearance. It doesn’t have to be pretty, but you should smooth it in just like you do when you are deburring a block. If you used a felt tip marker to outline the grinding area, you can generally grind until you take out your line and that will be close to sufficient; subject of course to actual measurement.
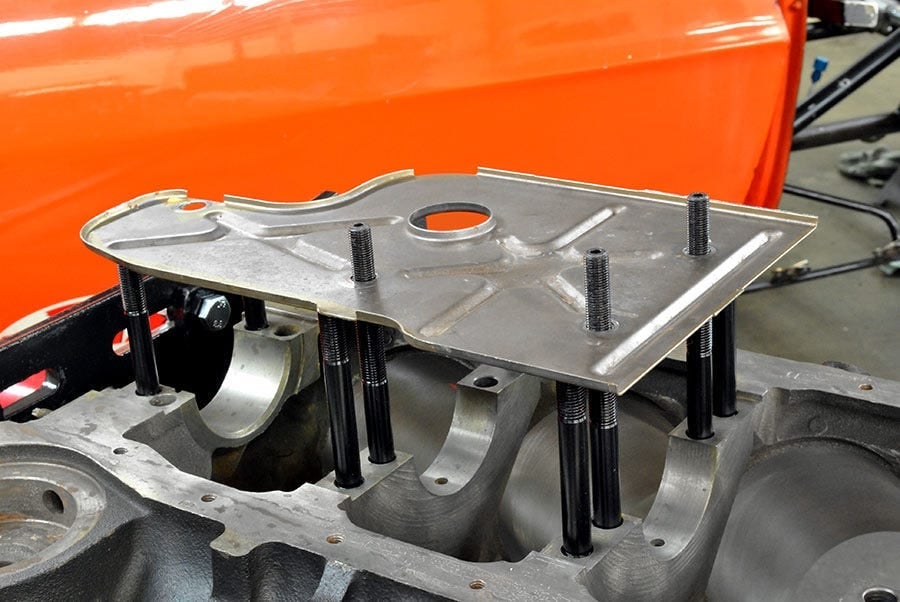
If you have a windage tray it may need to be adjusted farther away from the crank or have some clearance notches ground in it to avoid contact with the rotating assembly.
The crank itself is less likely to encounter interference but check all the throws carefully where they swing past the main webs and the main bearing caps, just in case. We have also seen cases where the crank encounters interference around the rear main. So, in addition to visual inspection, you must also feel and listen for tiny thumps or grinding as you rotate the assembly through this area. Anything that sounds like metal to metal contact must be investigated and corrected. Once you have completed your clearancing efforts, you can go back in and polish up some of the areas before sending the block for a very through cleaning. As you can easily appreciate grinding particles are the last thing you want floating through your oiling system.
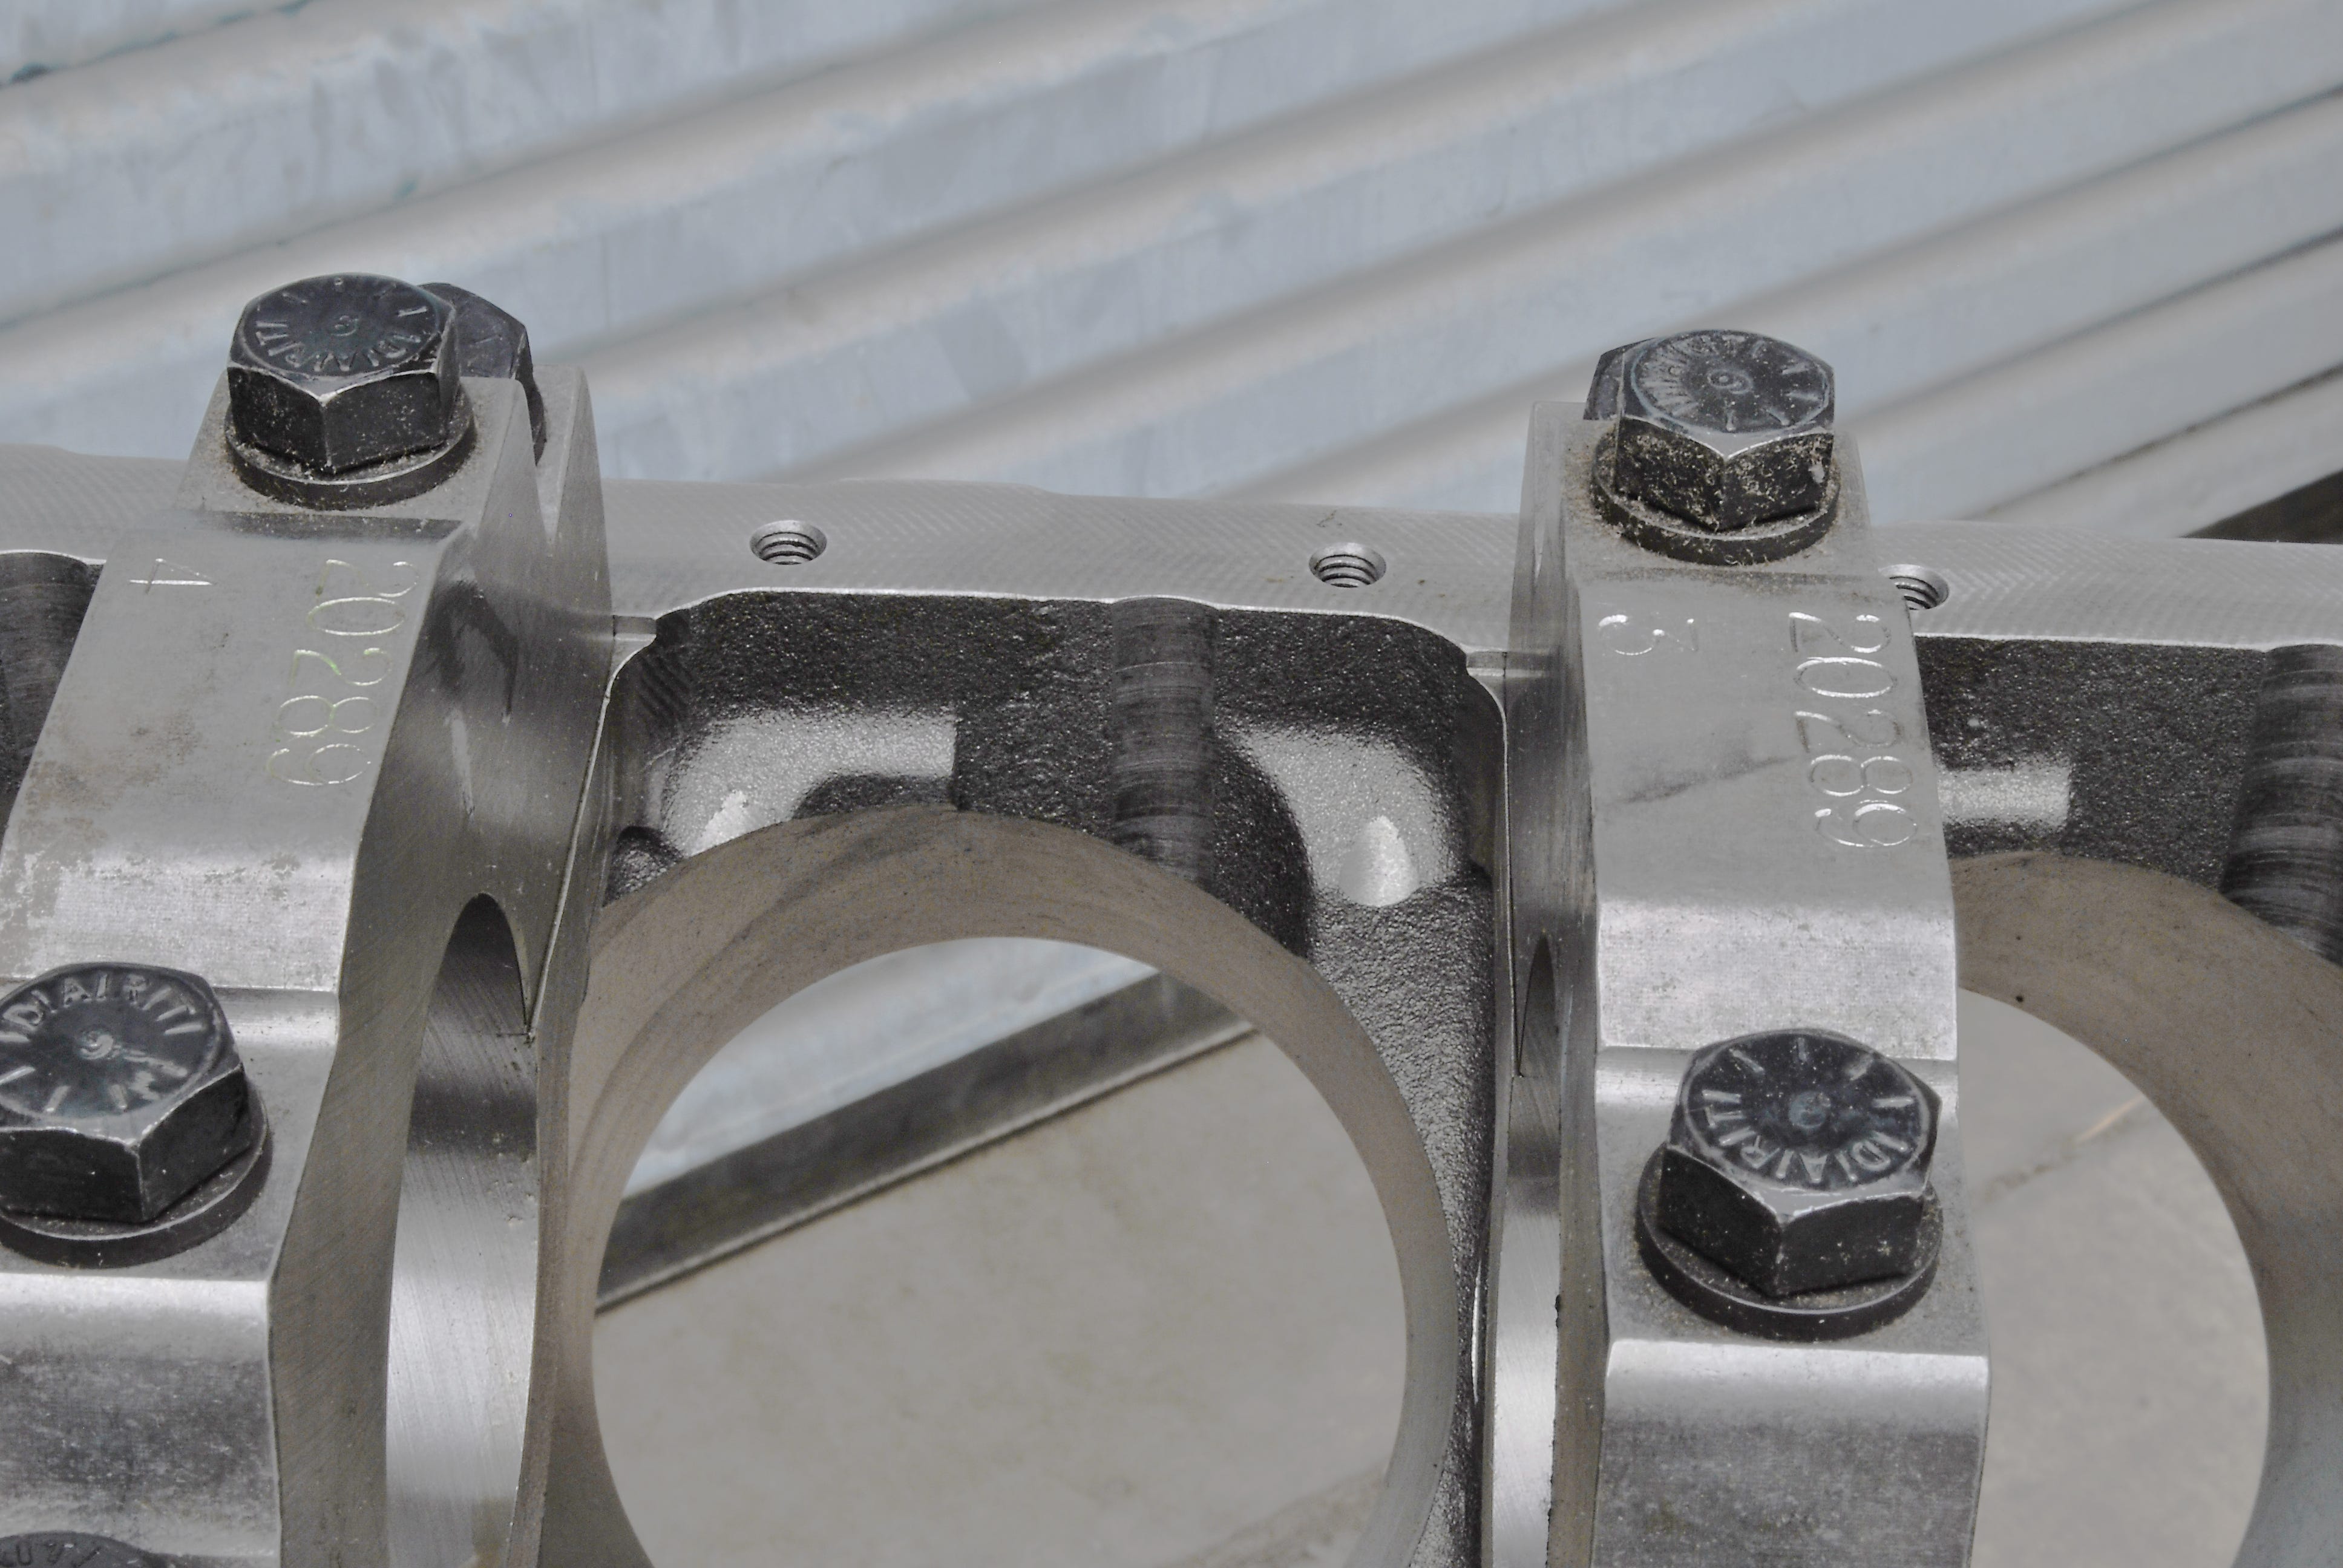
Here is the underside of a Dart Big M block for a big block Chevy. Clearance for up to a 4.250 crank is built in with only minor machining required.
If you have the option of changing rods or rod bolts you may escape some of the tedious grinding work, but not in every case. Using rod bolts with smaller head ten-point cap screws is almost always a favorable move. It may not completely cure the problem, but it can mean less grinding and a better chance of avoiding hitting a water jacket. Another thing to check with a stroker crank is pan clearance If you use a stock oil pain with a built-in separator or partial windage tray, you may find that a stroker assembly will hit the tray at some point. The pan and windage tray will have to be clearance via grinding just like the block.
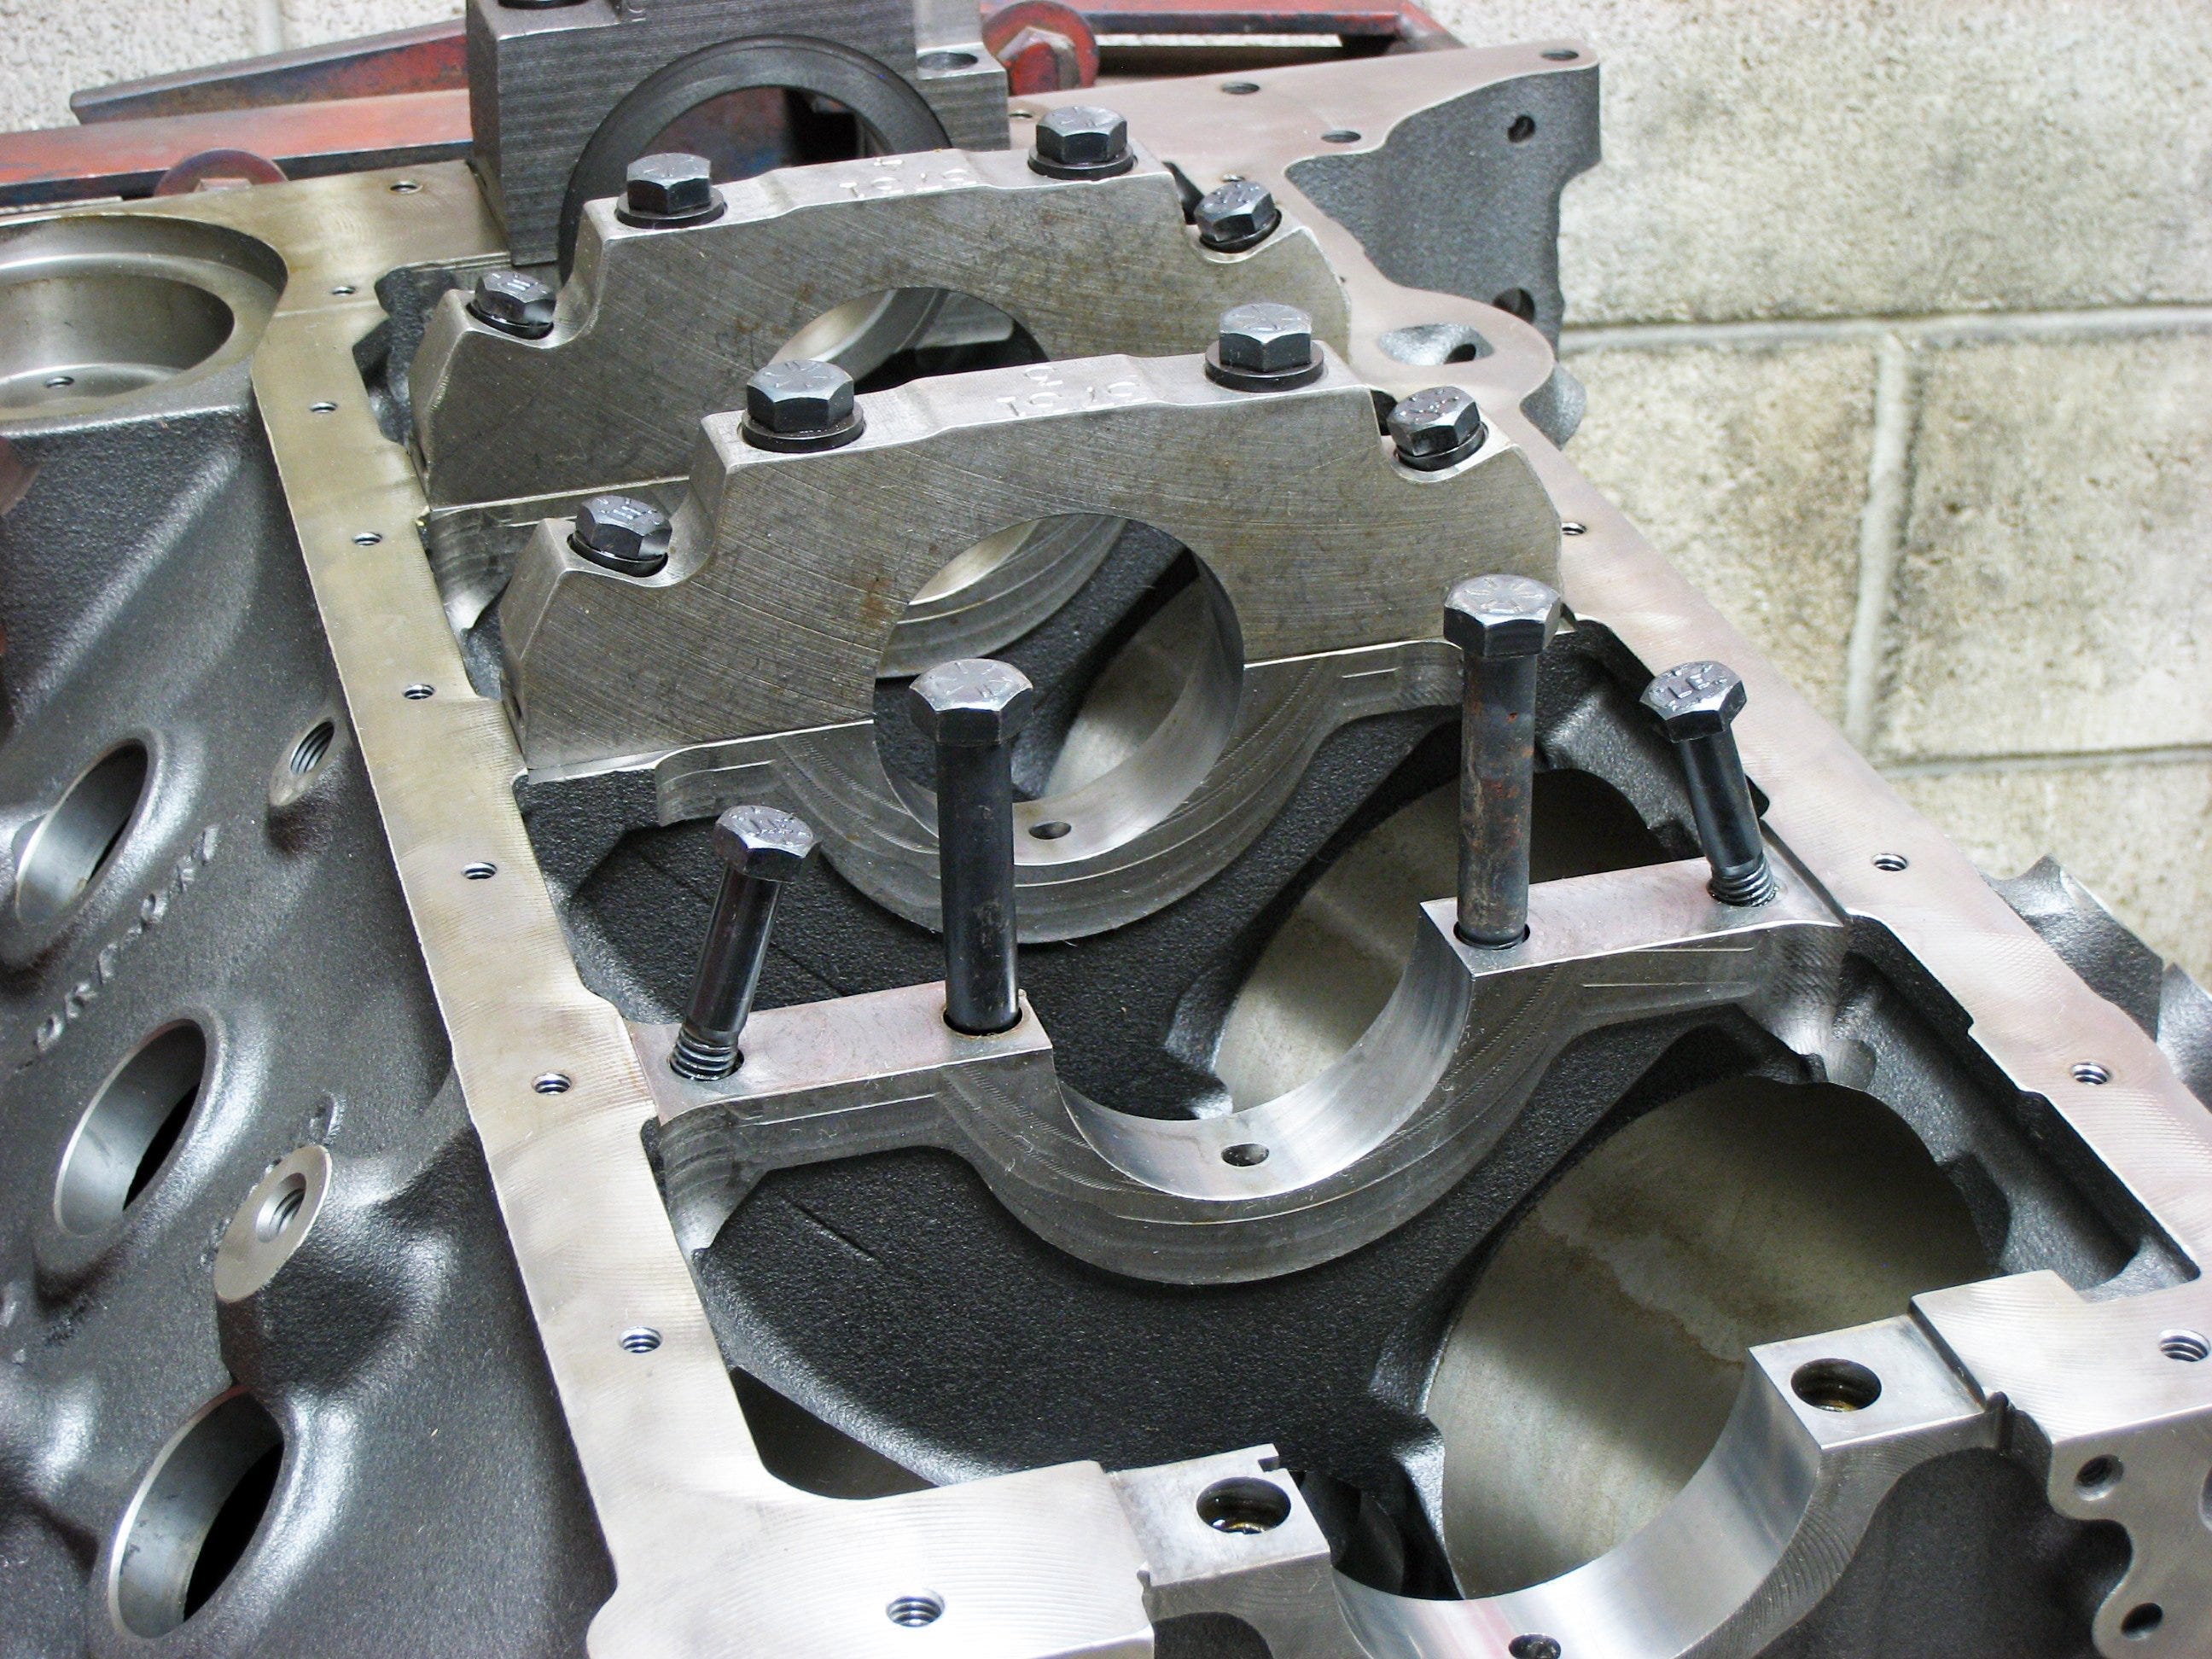
This Dart SHP small block has built in pan rail clearance and notches machined to clear the rods at the bottom of the cylinders.
Most aftermarket cylinder blocks are already clearanced for stroker applications, and they specify how much stroke the block can accommodate. But you can never assume anything, so you still must perform the appropriate checks as described above. This also applies to reconditioned blocks. If you study an aftermarket block you can see the built-in notches that provide clearance for the rods. This gives you some idea where to look on your own block if you are still using a stock block. Most OEM performance blocks also accommodate extra stroke clearance, but again, checking is always the byword.
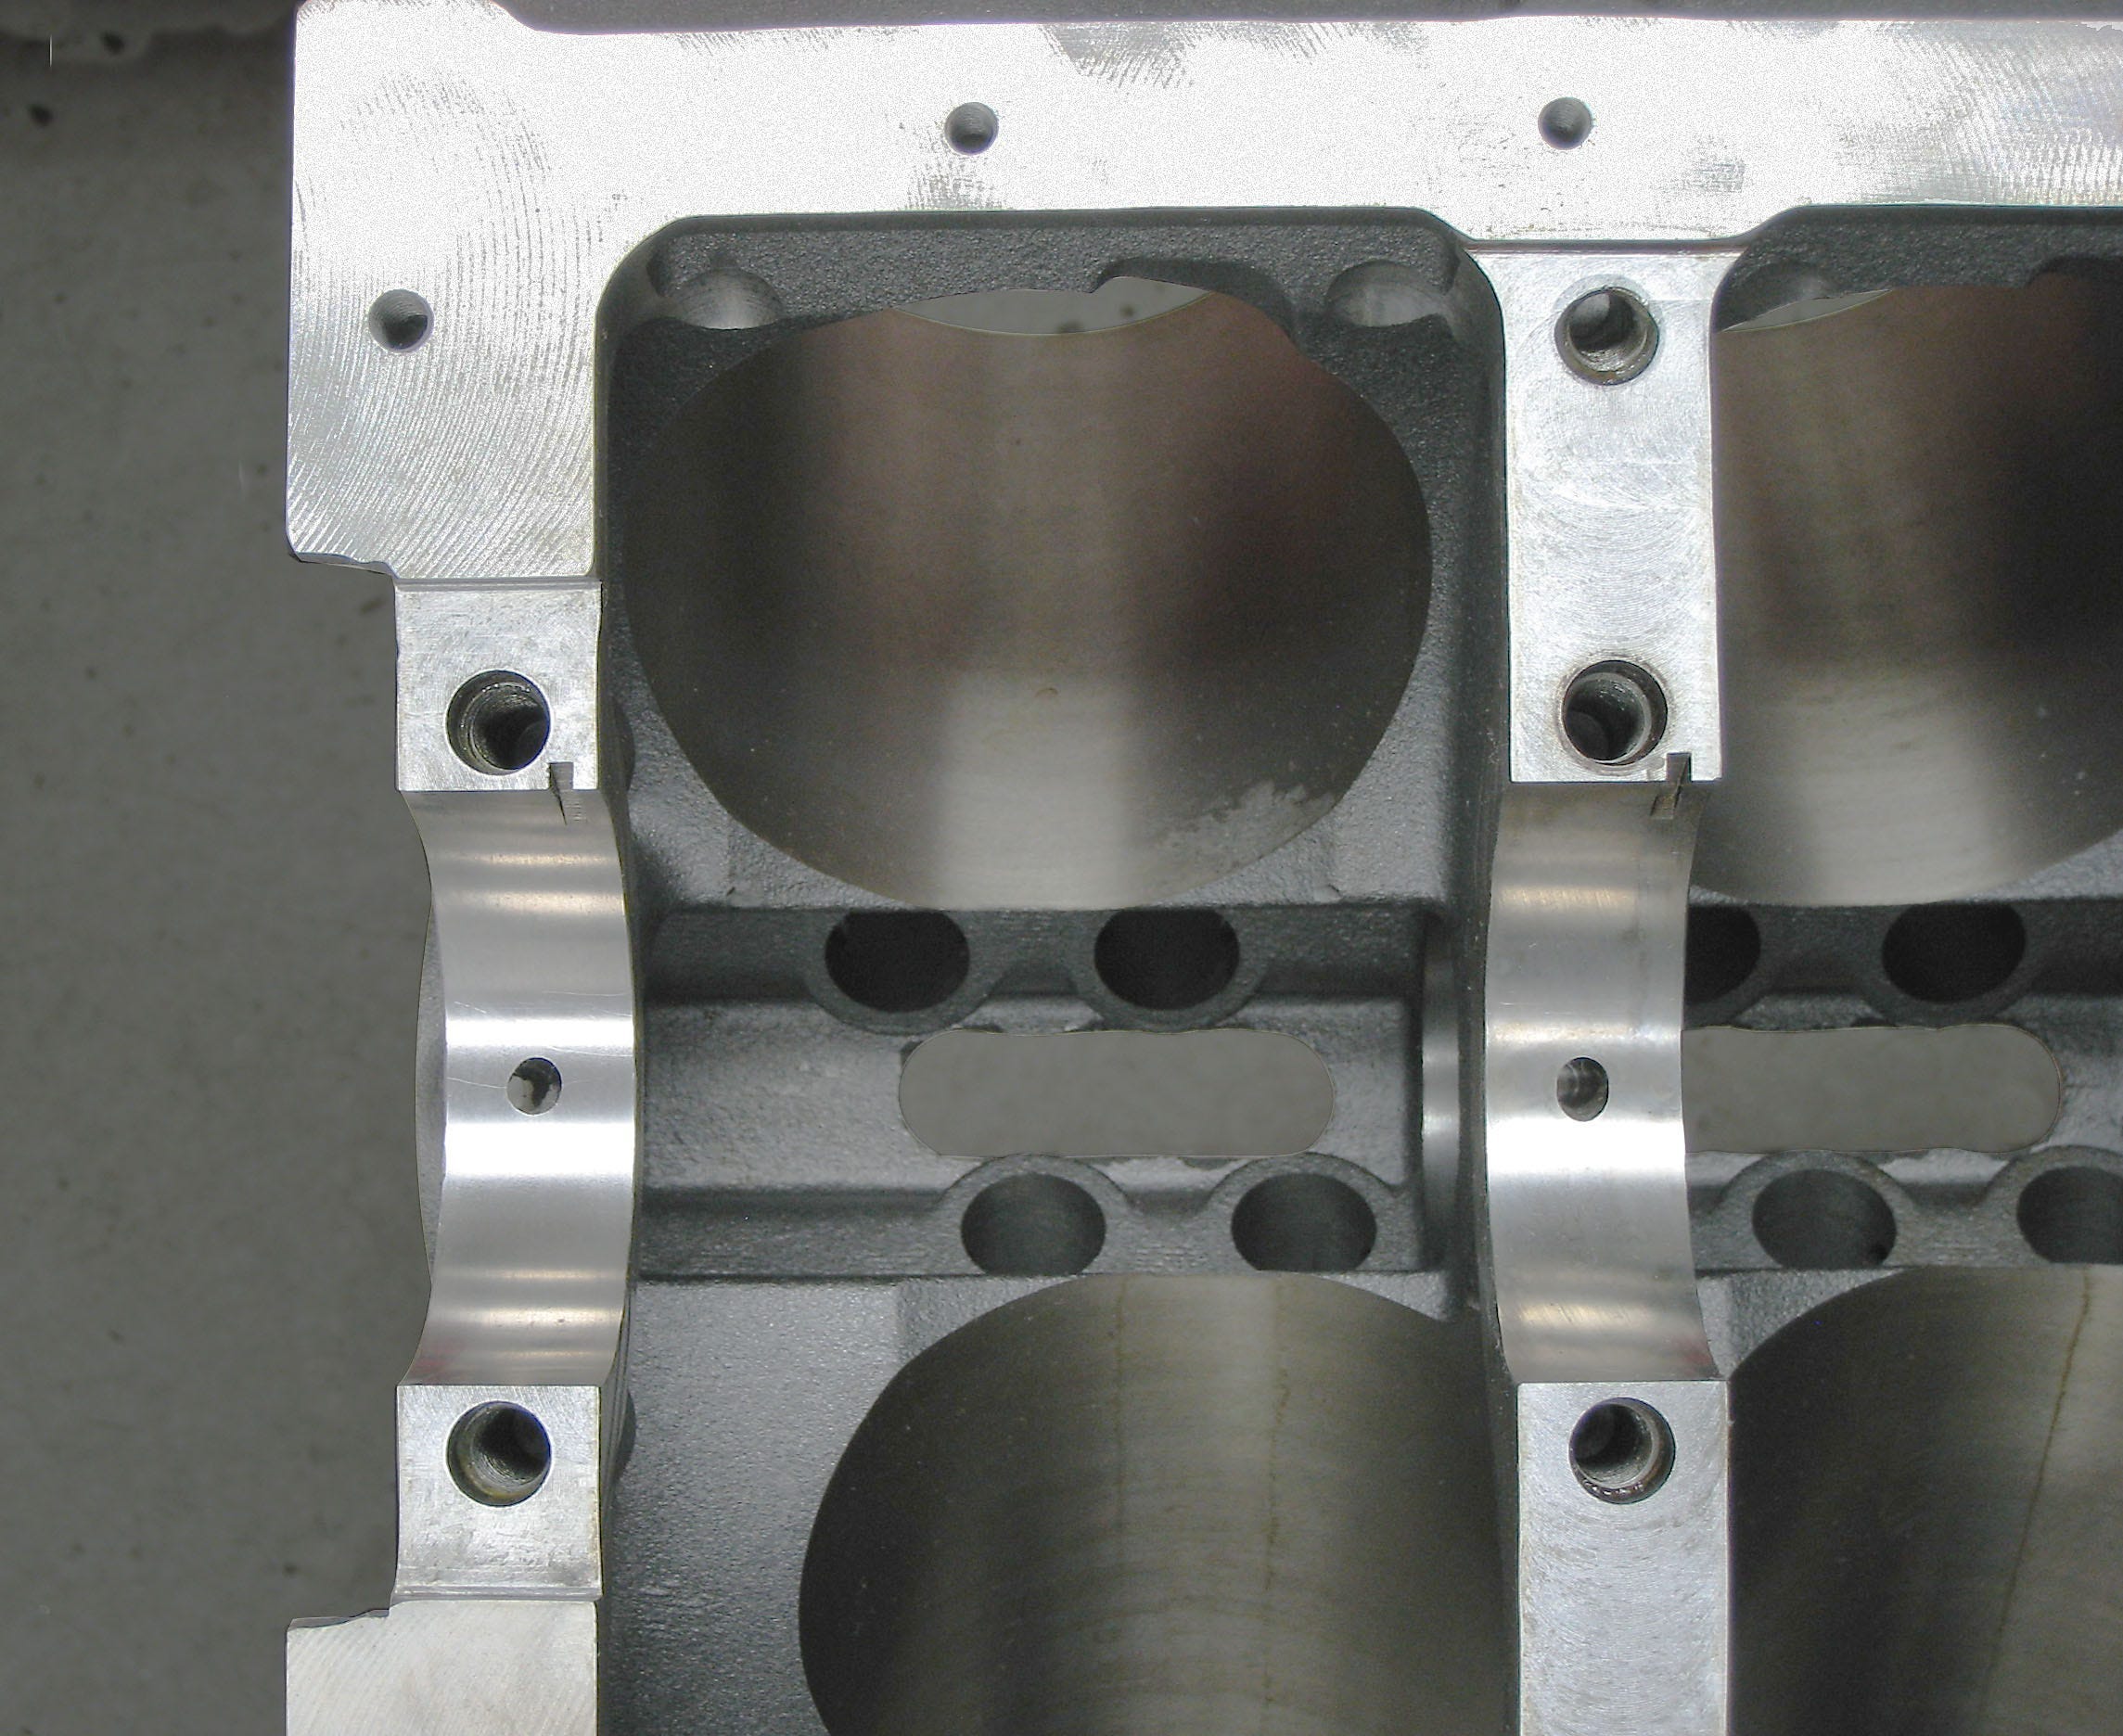
Note the additional grinding on this block to provide clearance. These are the areas where you will encounter interference.
With the popularity of stroker engines this extra work to clearance the block is a small price to pay for the power gains you will enjoy from the additional displacement. With proper clearancing your engine should be trouble free for many miles of cruising or racing.
